


The throw-in represents one of soccer’s most frequent restarts, yet it’s also one of the most commonly misunderstood aspects of the game. A properly executed throw-in can create scoring opportunities and maintain possession, while illegal technique results in turnovers that hand the ball directly to opponents. Whether you’re a player learning fundamentals, a coach teaching proper mechanics, or a referee enforcing the Laws of the Game, understanding the precise requirements for legal throw-ins separates those who master the details from those who struggle with preventable violations.
This comprehensive guide breaks down every aspect of soccer throw-in rules, from the fundamental legal requirements through advanced restart strategies that competitive teams use to gain tactical advantages. You’ll learn the exact technical elements required for legal execution, identify the most common foul throw violations and how to avoid them, understand strategic positioning and restart options, and discover how throw-ins fit into broader team tactics and game management approaches.
Why Throw-In Mastery Matters
Teams that execute throw-ins correctly maintain possession more effectively, create better scoring chances from restart situations, and avoid the frustration of turnovers caused by technical violations. For schools with competitive soccer programs, proper technique instruction ensures players develop sound fundamentals that serve them throughout their careers. Modern recognition solutions like Rocket Alumni Solutions help athletic departments celebrate the achievements of players who master these fundamentals and earn their place in program record books.
The Official Laws of the Game: What Makes a Throw-In Legal
According to FIFA’s Laws of the Game (Law 15), a throw-in must meet specific technical requirements to be considered legal. Understanding these precise requirements prevents foul throws and ensures successful restarts.
Required Elements for Legal Execution
1. Both Feet Must Be on the Ground: At the moment of release, both feet must be in contact with the ground or the touchline. This is the most frequently violated requirement.
2. Both Feet Must Be on or Behind the Touchline: No part of either foot can extend beyond the touchline into the field of play when the ball is released.
3. Ball Must Be Delivered from Behind and Over the Head: The throw must use both hands equally, starting from behind the head and releasing the ball over the top of the head in one continuous motion.
4. Thrower Must Face the Field of Play: The player taking the throw must be facing the field or at least sideways to it, not facing away from play.
5. Ball Must Enter the Field of Play: The ball must completely cross the touchline and enter the field before any player touches it.
Who Gets the Throw-In
The throw-in is awarded to the opponents of the player who last touched the ball before it wholly crossed the touchline, whether on the ground or in the air. This determination is made by the referee or assistant referee who had the best view of the ball leaving the field.
Location of the Throw-In
The throw must be taken from the point where the ball crossed the touchline. Players cannot gain positional advantage by moving down the line from where the ball went out. Referees may require the thrower to move to the correct spot if they attempt to take the throw from the wrong location.
Step-by-Step Legal Throw-In Technique
Proper throw-in technique can be taught systematically through progressive skill development. This step-by-step breakdown helps players develop consistent, legal mechanics.
Foot Position and Stance
Step 1 - Starting Position: Stand perpendicular or slightly angled to the touchline with feet shoulder-width apart. Both feet should be firmly planted on or behind the line.
Step 2 - Weight Distribution: Balance your weight evenly on both feet. Avoid lifting either heel until after the ball is released, as this is the most common technical violation.
Step 3 - Power Stance Option: For longer throws, some players position one foot slightly behind the other in a staggered stance, but both feet must remain on the ground throughout the throwing motion.
Grip and Ball Control
Step 4 - Hand Placement: Place both hands on the sides and slightly behind the ball with fingers spread comfortably. Hands should apply equal pressure on both sides.
Step 5 - Starting Position: Bring the ball behind your head, with arms fully extended backward to create maximum throwing arc.
Step 6 - Maintain Control: Keep firm but relaxed grip throughout the motion to ensure the ball doesn’t slip and both hands contribute equally to the throw.
Throwing Motion and Release
Step 7 - Forward Motion: Bring the ball forward in one continuous arc motion from behind the head, over the top, releasing at the optimal point for distance and accuracy.
Step 8 - Equal Hand Contribution: Both hands must remain on the ball and contribute equally to the throw. Releasing with one hand before the other results in a foul throw.
Step 9 - Follow Through: After release, hands naturally follow through in the direction of the throw. Feet must remain planted during and immediately after release.
Step 10 - Quick Release: In competitive play, execute the throw promptly after assuming position to maintain game tempo and prevent opponents from organizing defensive shape.
Understanding athletic recognition programs helps soccer programs celebrate players who demonstrate mastery of fundamental skills like proper throw-in technique alongside more visible accomplishments.
Common Foul Throw Violations and How to Avoid Them
Foul throws result in possession being awarded to the opposing team. Understanding the most common violations helps players avoid preventable mistakes.
Violation #1: Lifting the Back Foot (Most Common)
What Happens: The back foot lifts off the ground before or during the release, even slightly.
Why It Occurs: Players naturally want to generate more power by stepping into the throw, but this violates the feet-on-ground requirement.
How to Prevent: Focus on keeping both heels planted throughout the entire motion. Practice throw-ins while having a teammate watch your feet specifically. For power, use upper body rotation and arm strength rather than stepping forward.
Violation #2: Foot Crosses the Line
What Happens: One or both feet step over the touchline into the field of play before releasing the ball.
Why It Occurs: Players move forward during the throwing motion or start with feet positioned too close to or on the line.
How to Prevent: Start with both feet at least a few inches behind the touchline. Maintain awareness of foot position throughout the throw. Practice with a visible line marker during training.
Violation #3: Ball Not Released from Behind and Over the Head
What Happens: The ball starts beside the head rather than behind it, or gets released from beside or in front of the head rather than over the top.
Why It Occurs: Players try to throw sidearm or release too early to generate different ball trajectory.
How to Prevent: Ensure the ball starts fully behind your head with arms extended back. Maintain the over-the-top arc throughout the entire motion. Video analysis during practice helps identify this flaw.
Violation #4: One-Handed or Unequal Hand Contribution
What Happens: One hand dominates the throw while the other provides minimal force, or one hand releases before the other.
Why It Occurs: Natural hand dominance causes players to favor their stronger side, or players try to add spin to the ball.
How to Prevent: Practice throwing with equal pressure from both hands. Have coaches or teammates watch for uneven hand positioning or early release from one side. Film your throw-ins to identify imbalances.
Violation #5: Feet Leave Ground Before Release
What Happens: Both feet or one foot lift off the ground before the ball leaves the hands.
Why It Occurs: Players jump into the throw trying to generate power or height, or they lose balance during the motion.
How to Prevent: Practice proper weight distribution and balance throughout the throw. Focus on arm and core strength for power rather than leg drive. Strengthen ankle stability for better balance.

Violation #6: Failing to Face the Field
What Happens: The thrower faces away from the field or turns their back to play.
Why It Occurs: Players looking for teammates down the line turn their body rather than just their head.
How to Prevent: Keep shoulders and hips facing the field or at minimum sideways. Turn only your head to scan for targets, not your entire body.
Violation #7: Taking Too Long (Time-Wasting)
What Happens: While not technically illegal in most circumstances, excessive delay can result in the referee instructing the throw be taken quickly or cautioning for time-wasting in late-game situations.
Why It Occurs: Teams try to waste time when protecting a lead or wait too long trying to identify the perfect target.
How to Prevent: Develop quick decision-making in training. Recognize when to execute quickly versus when strategic delay is acceptable. Be ready to throw within 5-10 seconds of retrieving the ball in most game situations.
Resources on senior athlete recognition demonstrate how soccer programs celebrate players who demonstrate consistent technical excellence in all aspects of play, including proper execution of fundamental skills.
Restart Strategy and Tactical Considerations
Beyond legal technique, effective throw-in strategy creates possession advantages and scoring opportunities. Competitive teams develop specific throw-in patterns and movements.
Offensive Throw-In Tactics
Short Throw to Nearby Teammate: The safest option maintains possession with a simple pass to a nearby player who checks back to receive the ball. This works best in defensive third situations where maintaining possession is priority.
Down-the-Line Throw: A throw directed parallel to the touchline toward the attacking third advances territory. Teammates make diagonal runs to receive while maintaining proper spacing.
Into Space Behind Defense: When defenders turn to face the throw, space opens behind them. Throws into this space allow attacking players making runs to receive in dangerous areas.
Long Throw Specialists: Some players develop exceptional throwing distance, effectively using throw-ins near the opponent’s penalty area as set-piece opportunities similar to corner kicks. This requires specific training and strength development.
Quick Throw: When the ball hasn’t traveled far out of play and no opponent has touched it, a quick throw catches opponents disorganized. The same ball that went out must be used, and opponents must be given proper space.
Defensive Throw-In Tactics
Safety-First Approach: In your defensive third, prioritize secure possession over aggressive advancement. Short throws to defenders or goalkeeper (who can then use hands) minimize risk.
Awareness of Pressure: Identify opponent positioning before throwing. Avoid throwing to teammates who are closely marked or facing their own goal.
Goalkeeper Option: Throwing to your goalkeeper gives your team the security of a player who can use hands. However, once the keeper receives a throw-in with hands, they cannot pick up a subsequent back pass until an opponent touches the ball.
Cleared First Touch: In congested defensive situations, instruct the receiver to clear the ball upfield immediately rather than trying to turn and play out.
Positioning and Movement Patterns
Creating Passing Lanes: Teammates should show for the ball by checking toward the thrower or making angled runs that create clear passing lanes.
Spacing Principles: Maintain proper spacing to give the thrower multiple options. Players positioned too close together allow one defender to mark multiple receivers.
Third-Man Runs: One player checks short to receive while another makes a run beyond, creating layered options and pulling defenders in different directions.
Overlapping Runs: A teammate makes a forward run overlapping the thrower immediately after the throw, potentially receiving a quick return pass in advanced position.
Exploring digital recognition systems shows how soccer programs can permanently honor tactical excellence and game intelligence alongside statistical achievements.

Special Throw-In Situations and Rules Clarifications
Several special situations involve throw-ins and require specific understanding of how the rules apply.
Can You Score Directly from a Throw-In?
No. A goal cannot be scored directly from a throw-in. If the ball enters the opponent’s goal directly from a throw without touching another player, a goal kick is awarded. If it enters the thrower’s own goal, a corner kick is awarded to the opponent.
Is There Offside from a Throw-In?
No. A player cannot be in an offside position when receiving the ball directly from a throw-in. This creates tactical opportunities for attacking players to position themselves in advanced positions that would otherwise be offside. However, once the ball is played by a teammate after the throw-in, normal offside rules apply.
Can the Thrower Touch the Ball Again Immediately?
No. The player taking the throw-in cannot touch the ball again until it has touched another player. Doing so results in an indirect free kick for the opponent at the spot where the second touch occurred.
What If an Opponent Doesn’t Provide Proper Distance?
Opponents must stand at least 2 yards (approximately 2 meters) from the point where the throw is taken. If they fail to do so, the referee may caution them for failing to respect required distance. The thrower may proceed with the throw even if opponents are too close, though it’s often tactically advantageous to wait for the referee to enforce proper distance.
Throw-In After Ball Hits Referee
If the ball touches a match official and goes out of play, the throw-in is awarded to the team that did not last touch the ball before it hit the official. If the ball goes out after touching the referee but without touching any player, the throw goes to the team that last touched it before hitting the official.
Can You Take a Throw-In While Kneeling or Sitting?
No. Both feet must be on the ground, which means standing is required. Taking a throw while kneeling, sitting, or from any other position results in a foul throw.
Using the Wrong Ball
For quick throw-ins, the same ball that went out of play must be used. If a player grabs a different ball (such as a ball from ball persons), the quick throw-in is not permitted and the throw must be taken from a standing start after the referee signals.
Programs focused on athlete achievement tracking can document soccer players who demonstrate consistent technical mastery throughout their careers.
Training Drills for Throw-In Improvement
Systematic practice develops proper technique and builds the strength, accuracy, and decision-making required for effective throw-ins.
Individual Technique Development
Wall Throw Drill: Practice throwing against a wall from various distances, focusing on proper foot position, ball trajectory, and consistency. Mark a target zone on the wall to work on accuracy.
Resistance Band Training: Use resistance bands during throw-in motion to build specific strength in the throwing muscles. This helps develop longer throw distance while maintaining proper technique.
Video Analysis Practice: Record yourself performing throw-ins from different angles. Review footage to identify technical flaws, foot positioning issues, or release point problems.
Distance Progression: Start with short-distance throws focusing purely on technique. Gradually increase distance while maintaining legal form. Don’t sacrifice technique for distance.
Partner and Small Group Drills
Throw and Move: Practice throwing to a partner who checks back to receive, then immediately making a forward run to receive a return pass. This simulates game-like movement patterns.
Target Practice: Set up cones or markers at various distances and angles. Practice throwing to hit specific targets, developing accuracy alongside distance.
Pressure Simulation: Have defenders apply passive pressure to receivers while you practice identifying the open target and delivering accurate throws under time constraints.
Competition Throws: Compete with teammates for longest throw, most accurate throw, or most consecutive legal throws. Competition adds engagement to technical work.
Team Tactical Training
Pattern Development: Rehearse specific throw-in patterns your team will use in matches. Practice the timing of runs, positioning, and combination play that follows the throw.
Set-Piece Situations: Treat throw-ins in attacking third as set pieces. Develop specific plays for dangerous positions near the opponent’s penalty area.
Transition Scenarios: Practice quick throw situations where teams transition rapidly from defense to attack by executing throws before opponents organize.
Position-Specific Training: Defenders practice safe throw-ins under pressure. Midfielders practice creative throw-ins that advance play. Forwards practice receiving throw-ins in attacking positions.
Understanding team recognition strategies helps soccer programs celebrate both individual technical excellence and team tactical execution.

Coaching Points and Teaching Progression
Coaches should teach throw-in technique systematically, matching instruction to player age and development level.
Youth Player Development (Ages 6-10)
Focus on Fundamentals: Emphasize basic legal technique over distance or strategy. Young players should master the feet-on-ground, over-the-head mechanics before advancing.
Use Visual Cues: Place cones behind the line for foot positioning. Use hand position demonstrations. Show video examples of proper technique.
Keep It Simple: Don’t overwhelm young players with tactical complexity. “Throw to a teammate” is sufficient strategy at early ages.
Positive Reinforcement: Celebrate legal throws even if they don’t travel far. Build confidence in technique before adding distance expectations.
Intermediate Development (Ages 11-14)
Refine Technique: Address specific technical flaws identified during games. Video analysis becomes valuable for showing players their own mechanics.
Add Strategic Elements: Introduce concepts like creating space, identifying open teammates, and basic throw-in patterns.
Develop Strength: Age-appropriate strength training helps players increase throwing distance while maintaining legal form.
Position Awareness: Teach players how throw-in responsibilities differ by position and field location.
Advanced Development (Ages 15+)
Specialist Development: Identify and develop players with exceptional throwing ability as long-throw specialists for attacking situations.
Tactical Sophistication: Install team-specific throw-in patterns and movements. Rehearse set-piece situations from throw-ins in dangerous areas.
Game Management: Teach when to throw quickly versus when to slow play down. Understand strategic use of throw-ins in different game situations.
Decision-Making Speed: Develop rapid decision-making under pressure. Train players to identify optimal targets within 2-3 seconds of receiving the ball.
Referee Guidance and Enforcement Consistency
Match officials play crucial roles in ensuring throw-ins are executed legally while managing the game flow effectively.
Key Observation Points for Referees
Watch the Feet: The most critical observation point is foot position at the moment of release. Position yourself to see both feet clearly.
Assess Hand Position: Verify the ball starts behind the head and releases over the top. Sidearm or front releases should be called immediately.
Monitor Distance: Ensure opponents respect the required 2-yard distance. Failure to do so warrants a caution after warning.
Verify Location: Confirm the throw is taken from the correct spot where the ball left the field. Require adjustment if the player attempts to gain advantage by throwing from wrong location.
Consistency in Enforcement
Call All Technical Violations: Inconsistent enforcement confuses players and coaches. A foul throw in the first minute should be called the same as one in the 89th minute.
Educate When Possible: Especially in youth matches, briefly explain the violation to help players learn. “Both feet must stay down until after you release” provides valuable instruction.
Manage Cynical Delay: Distinguish between a player taking reasonable time to identify targets versus deliberately wasting time. Context matters for time-wasting decisions.
Prevent Encroachment: Actively manage opponent distance on throw-ins. Don’t wait for the thrower to complain; enforce the 2-yard requirement proactively.
Resources on athletic achievement displays show how soccer programs can preserve the legacies of players and referees who contribute to program excellence.
Quick-Reference Rules Card
This concise summary provides at-a-glance reference for the essential throw-in requirements:
✓ Legal Throw-In Requirements:
- Both feet on the ground at moment of release
- Both feet on or behind the touchline (not across it)
- Ball delivered from behind and over the head
- Both hands used equally throughout the throw
- Thrower facing the field of play
- Ball completely crosses the touchline into the field
- Thrown from the point where ball left the field
✗ Common Violations (Foul Throws):
- Foot lifts off ground before release
- Foot crosses the line into the field
- Ball released from beside or in front of head
- One hand releases before the other
- Sidearm throwing motion
- Thrower facing away from field
- Ball doesn’t fully enter the field
⚽ Special Rules:
- Cannot score directly from a throw-in
- No offside on direct receipt from throw-in
- Thrower cannot touch ball again until another player touches it
- Opponents must be at least 2 yards away
- Same ball must be used for quick throw-ins
📍 Restart Location:
- Team that did not last touch the ball gets the throw
- Taken from point where ball crossed the line
- No advantage gained by throwing from wrong spot
Building Program Excellence Through Fundamental Mastery
Soccer programs that emphasize fundamental skills like proper throw-in technique build stronger foundations for competitive success. Players who master these details demonstrate the discipline, attention to detail, and commitment to excellence that defines championship programs. When athletes understand that mastering fundamentals earns recognition alongside more visible accomplishments like goals and assists, programs develop cultures where every aspect of performance receives appropriate emphasis.
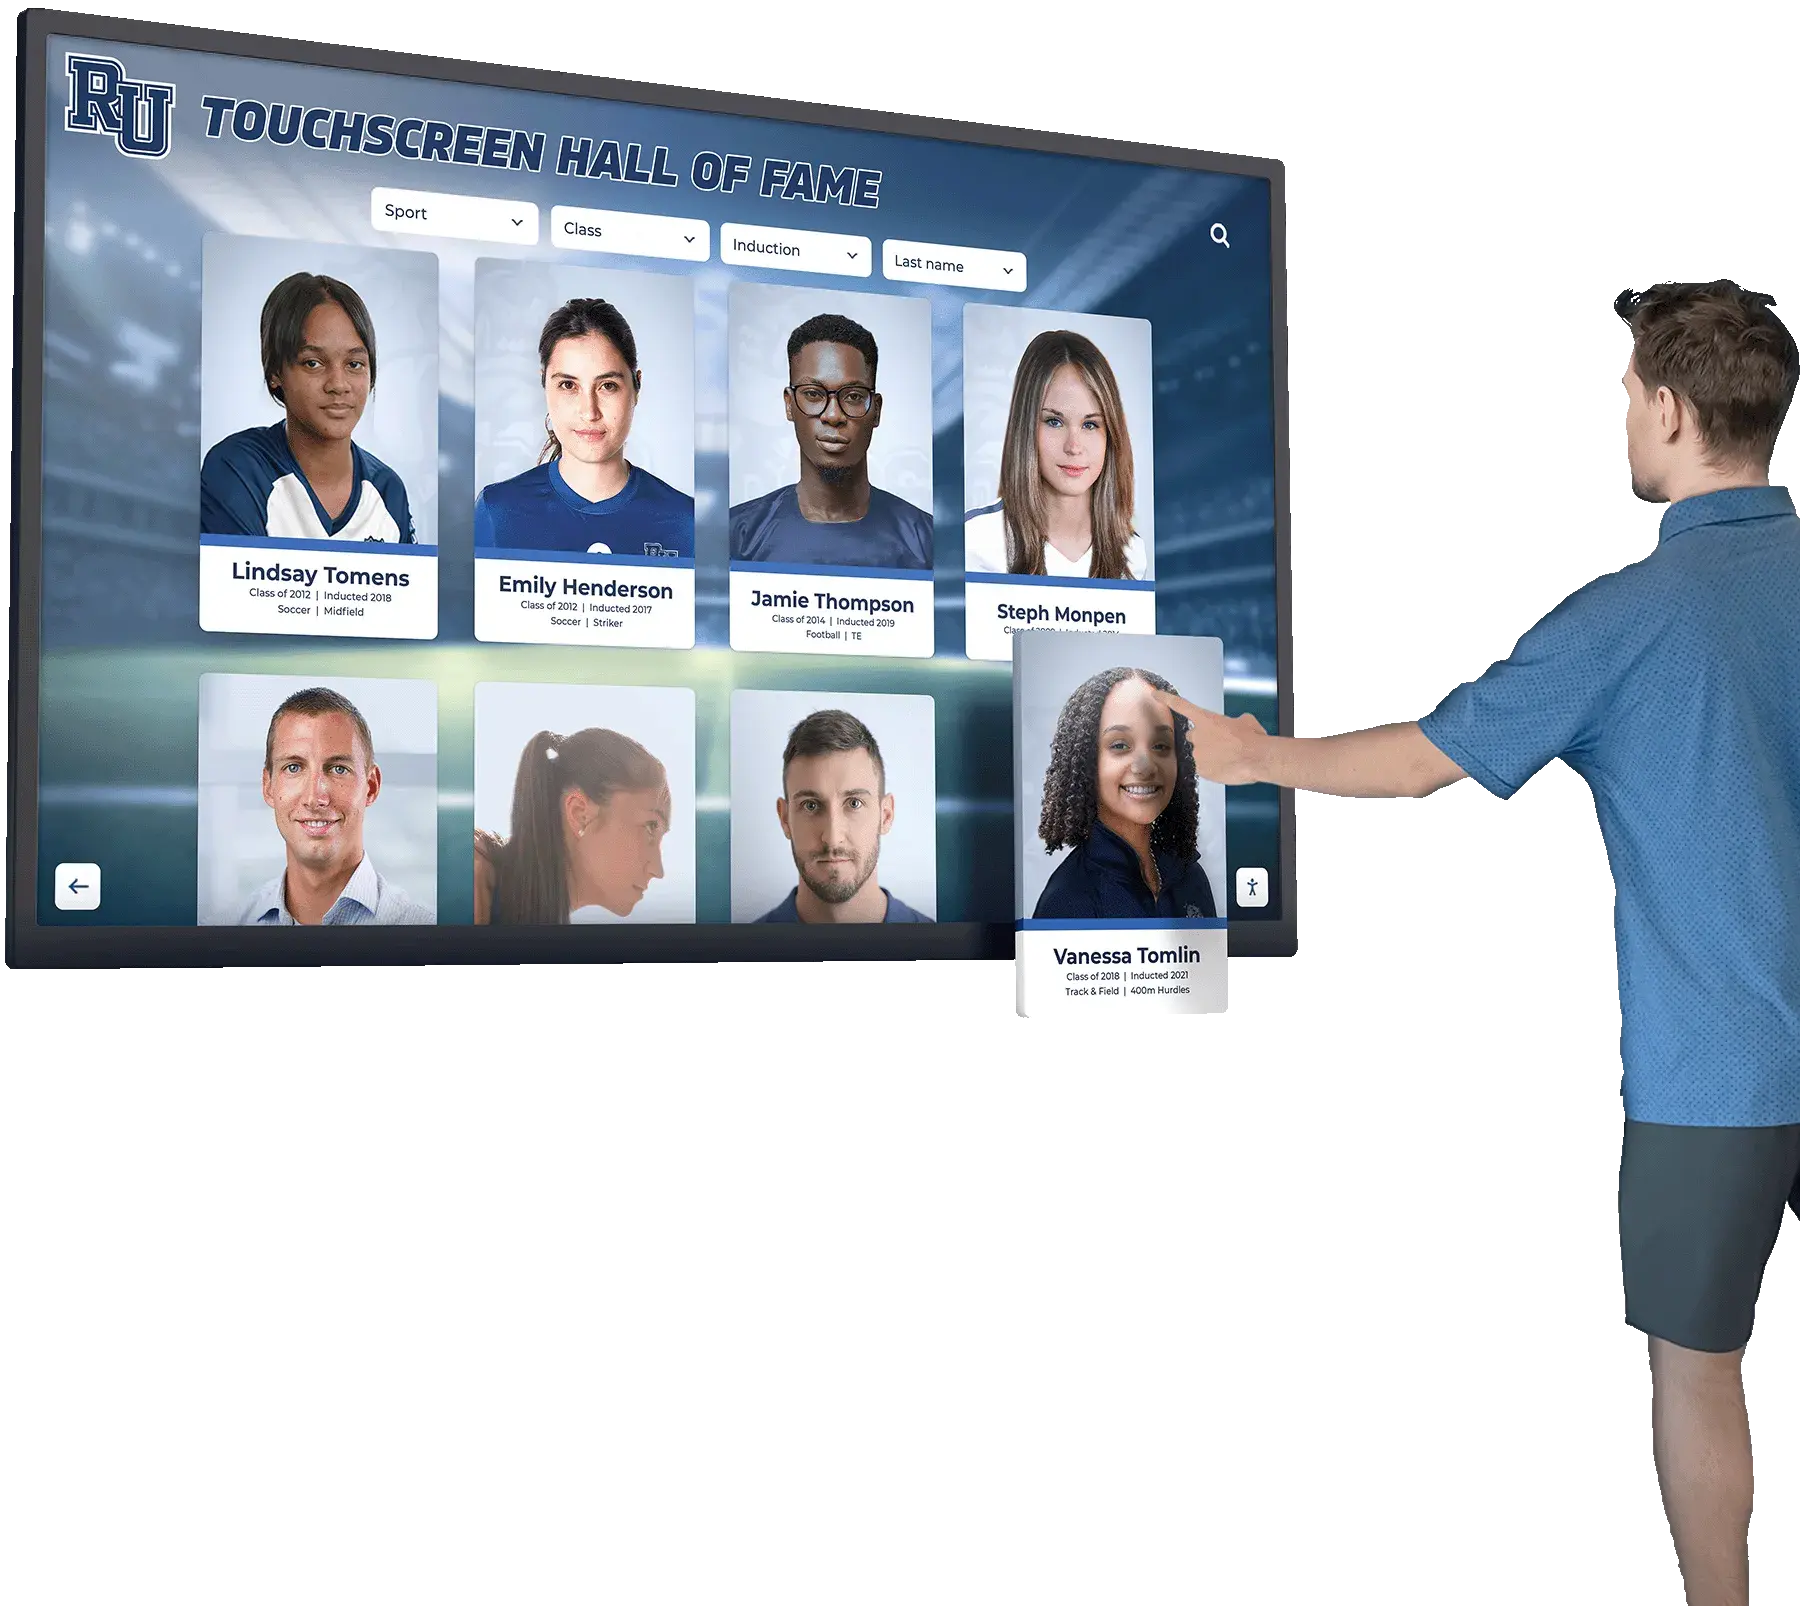
Modern digital recognition solutions enable athletic departments to celebrate comprehensive player development. Rocket Alumni Solutions provides touchscreen displays and digital record boards that showcase not only scoring leaders and championship teams, but also recognize players who demonstrate technical excellence, tactical awareness, and mastery of fundamental skills that contribute to team success. These permanent recognition systems build program tradition while inspiring current athletes to pursue excellence in all aspects of play, from spectacular goals to properly executed throw-ins that maintain possession and create scoring opportunities.
Teams that practice throw-ins as deliberately as they practice corner kicks and free kicks gain competitive advantages through superior restart execution. Programs that celebrate players who master these fundamentals create cultures where attention to detail matters at every level. Whether you’re teaching proper technique to youth players, refining tactical throw-in patterns with high school teams, or officiating matches where legal execution must be consistently enforced, understanding every aspect of throw-in rules ensures this frequent restart serves its intended purpose of fairly restarting play while creating opportunities for teams to demonstrate skill, strategy, and excellence.