


Championship banners represent the visible legacy of athletic achievement, transforming gymnasiums into galleries of program excellence. Whether celebrating conference championships, state titles, or milestone seasons, properly hung championship banners inspire current athletes while honoring past accomplishments. Yet the process of safely and professionally installing these recognition displays involves more than simply hoisting fabric into rafters—it requires careful planning, appropriate hardware, safety protocols, and attention to aesthetic presentation.
Athletic directors and facilities managers face practical challenges when installing championship banners: determining proper hanging heights, selecting hardware that protects gymnasium structures, ensuring banners remain secure during play, creating balanced visual arrangements, and completing installations safely without disrupting programs. Understanding professional installation techniques transforms banner hanging from potentially hazardous improvisation into systematic procedures that produce professional results while protecting both personnel and facilities.
Why Proper Banner Installation Matters
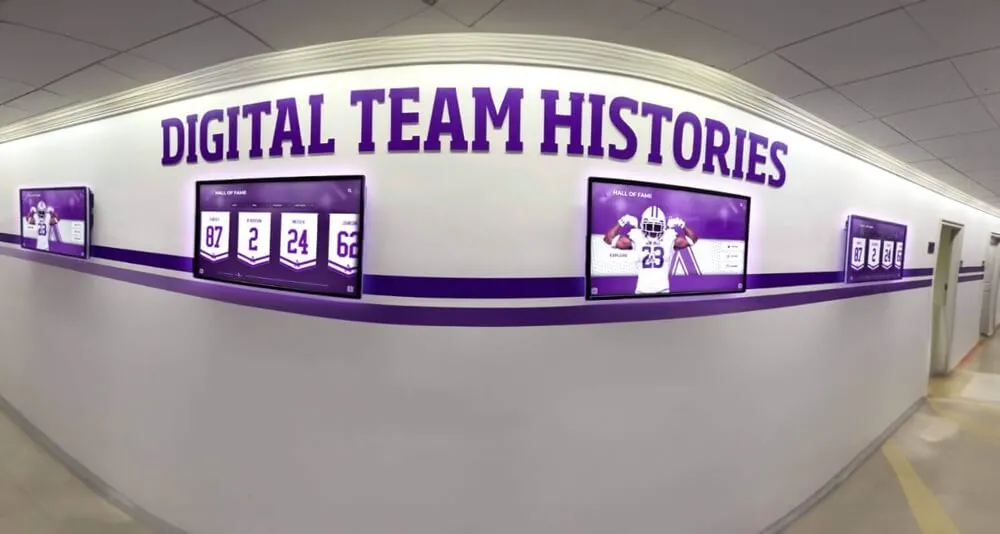
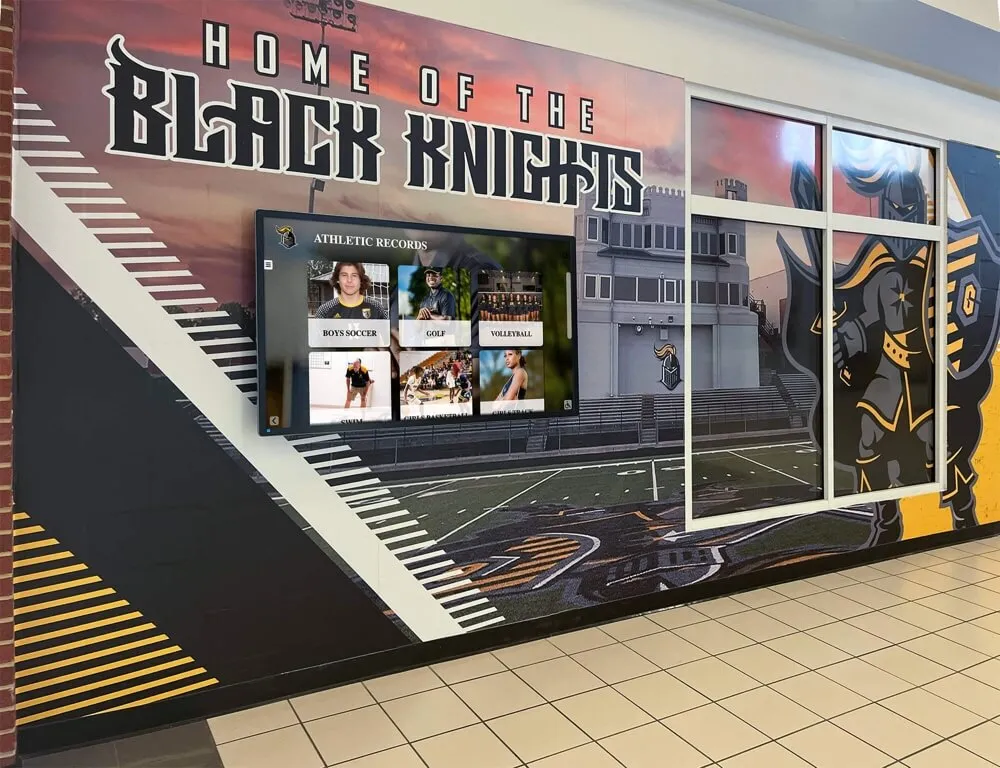
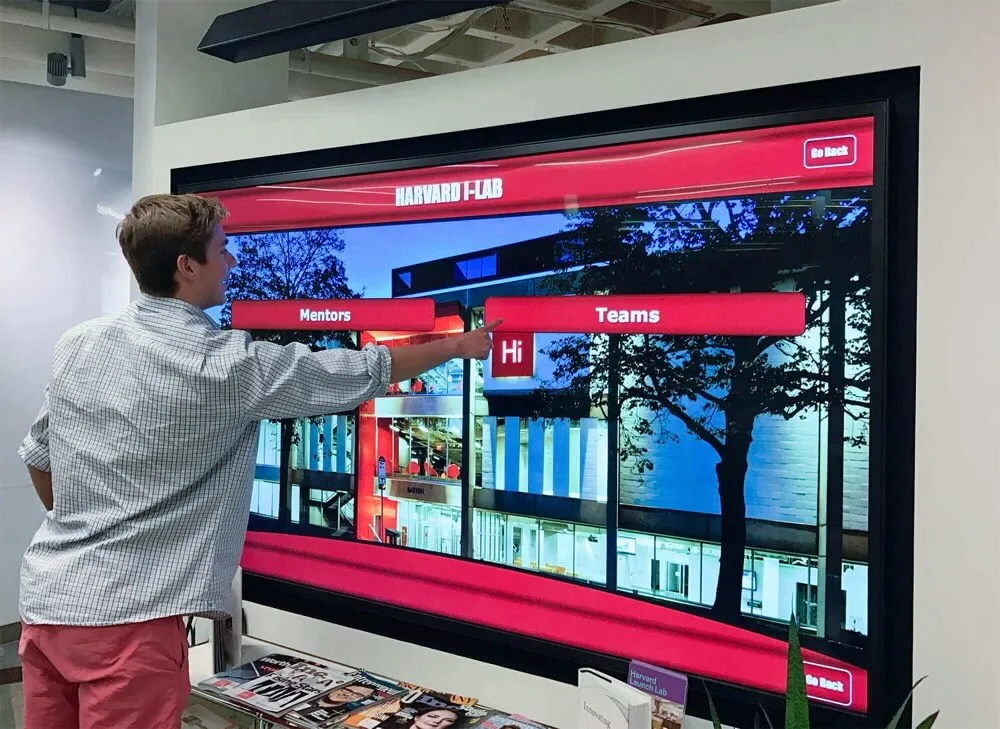
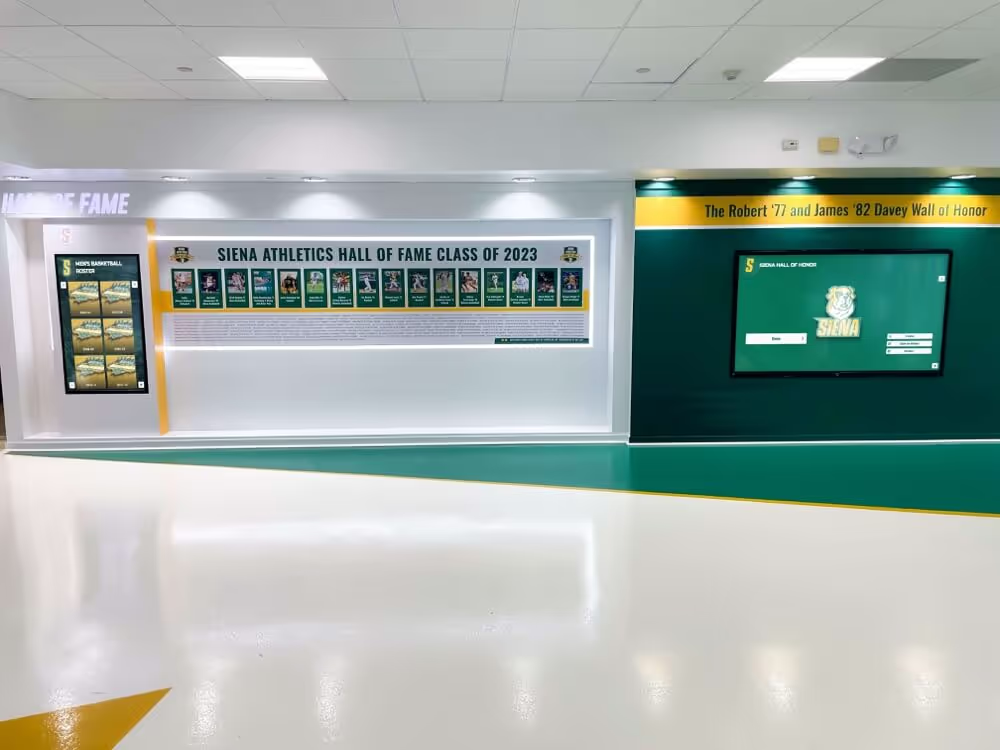
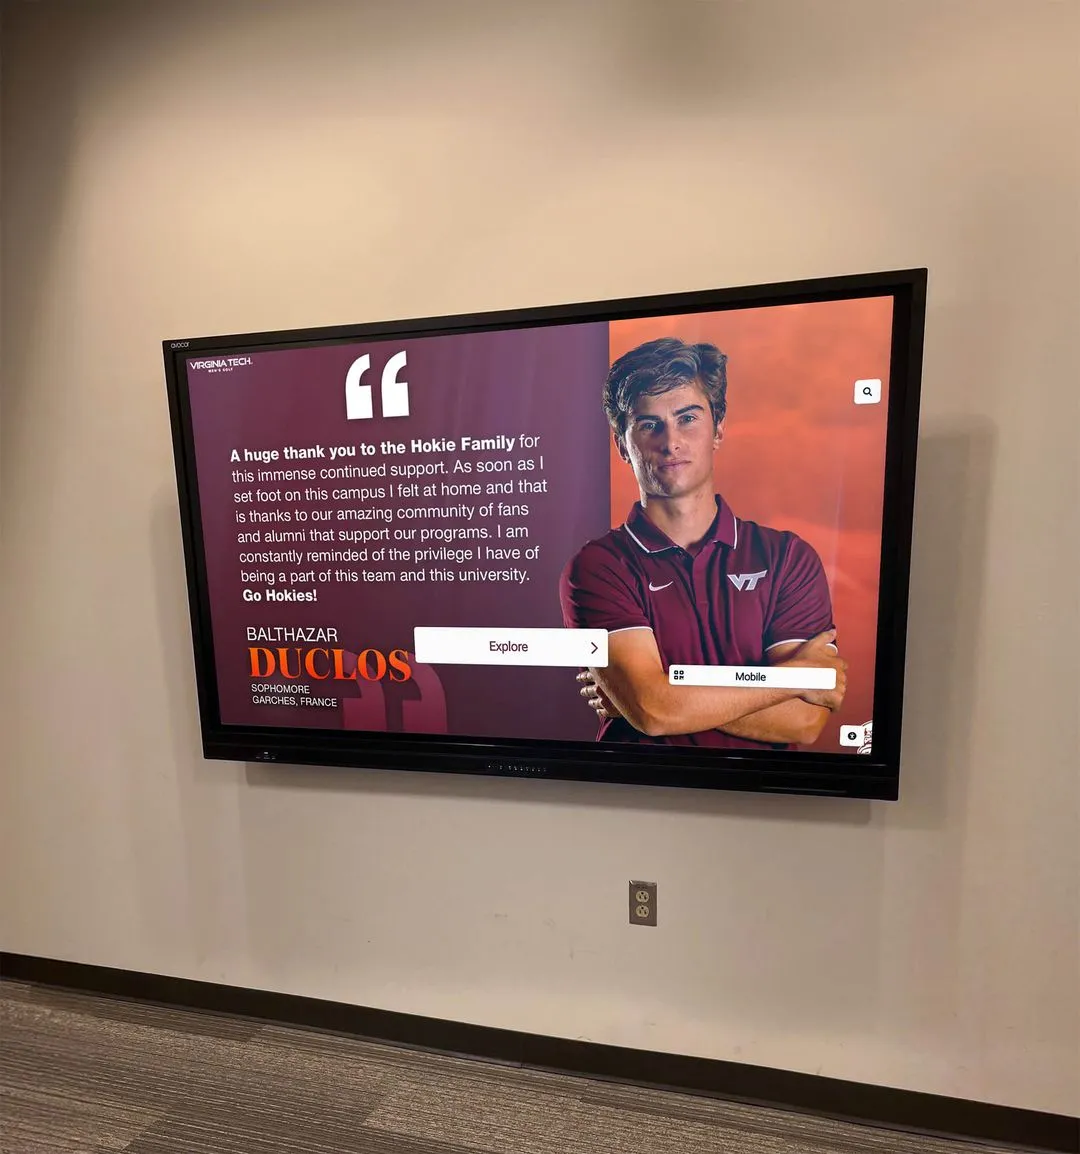
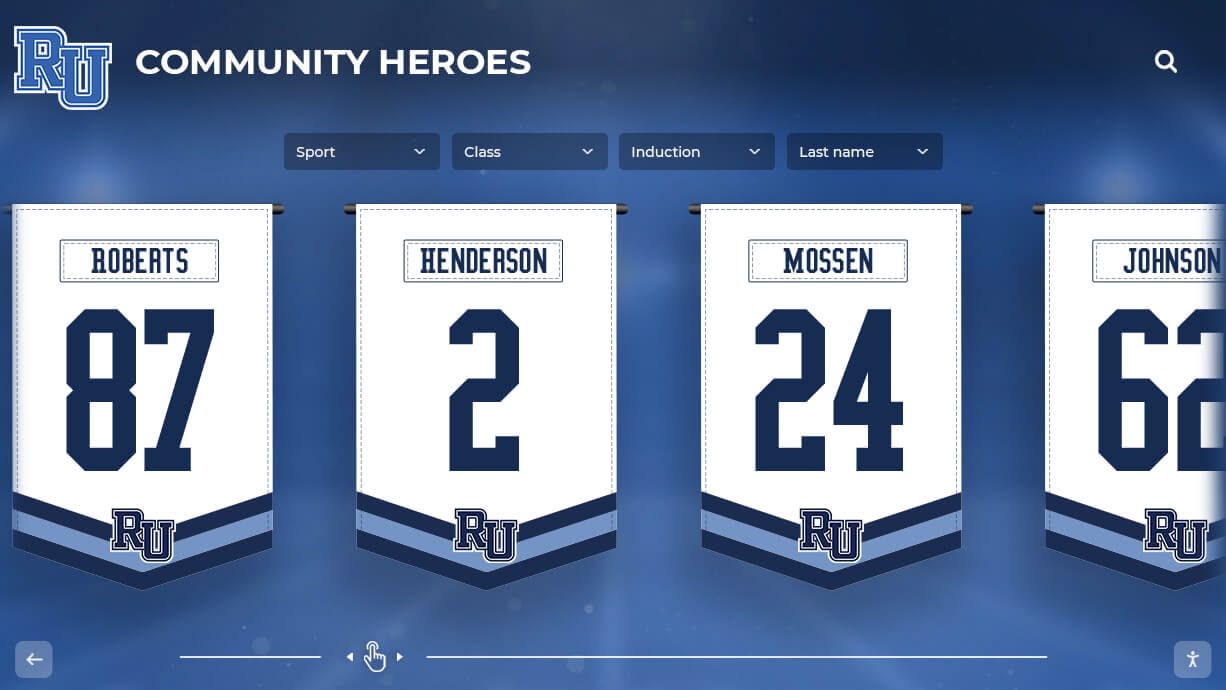
Championship banners deserve installation approaches matching the significance of the accomplishments they commemorate. Professional installation ensures banners remain securely mounted during athletic activities, presents achievements in visually appealing arrangements that enhance rather than clutter facilities, protects gymnasium structures and ceiling systems from damage, complies with fire codes and safety regulations, and maintains proper clearances for gameplay, lighting, and HVAC systems. Modern facilities increasingly complement traditional championship banners with digital athletic recognition displays that provide flexible, updatable recognition alongside permanent fabric displays.

Pre-Installation Planning: Setting Your Project Up for Success
Successful banner installations begin long before anyone climbs a ladder. Comprehensive planning addresses structural considerations, safety requirements, and aesthetic arrangements ensuring professional results.
Assessing Your Facility Structure
Understanding your gymnasium’s structural characteristics determines available hanging options and necessary hardware:
Ceiling and Roof System Evaluation
Different gymnasium ceiling constructions offer varying banner hanging options:
- Exposed steel beam systems: Many gymnasiums feature exposed structural steel beams providing robust mounting points for banner hardware. These systems typically accommodate heavier banner displays and withstand years of securely mounting recognition.
- Open truss systems: Gymnasiums with visible truss structures offer multiple potential mounting locations but require careful selection of attachment points that don’t interfere with structural integrity or existing utilities.
- Suspended ceiling systems: Drop ceiling installations present unique challenges as most suspended systems cannot support banner weight. Installations require penetrating to structural elements above or using alternative mounting approaches.
- Finished ceiling applications: Gymnasiums with finished drywall or plaster ceilings typically necessitate professional assessment determining structural members behind finished surfaces suitable for banner mounting.
Height and Clearance Measurements
Proper banner positioning requires accurate facility measurements:
- Ceiling height: Measure from gymnasium floor to lowest structural elements, accounting for basketball hoops, scoreboards, and other fixed equipment when determining maximum banner lengths.
- Playing surface clearances: Verify that banners hung at planned locations maintain required clearances above basketball courts, volleyball courts, and other playing surfaces per national federation and governing body rules.
- HVAC and lighting considerations: Identify heating, ventilation, and lighting fixtures ensuring banners don’t obstruct air flow, create fire hazards near heat sources, or interfere with facility illumination.
- Accessibility for installation: Assess whether available equipment—ladders, lifts, or scaffolding—can safely reach planned mounting locations. Some ceiling heights require professional lift equipment rental.

Structural Load Capacity
Championship banners create ongoing loads that building structures must support:
- Individual banner weight: Standard championship banners typically weigh 5-15 pounds depending on size and construction materials. Larger commemorative displays may weigh significantly more.
- Hardware weight: Mounting hardware, cables, and rigging systems add additional weight beyond banner fabric itself.
- Wind and air movement loads: HVAC systems and open doors create air currents that apply lateral forces to hanging banners, requiring secure mounting that resists movement and sway.
- Cumulative loads: Programs adding banners over years must consider cumulative weight on structural members. Ten banners on a single beam represent 100+ pounds of continuous load.
When structural concerns arise or existing mounting capacity reaches limits, facilities increasingly implement digital wall-mounted recognition systems that provide unlimited recognition capacity without ceiling load concerns or installation challenges.
Safety Considerations and Requirements
Athletic facilities present unique safety challenges during installation projects:
Personnel Safety Protocols
Protecting installation team members requires systematic safety measures:
- Fall protection systems: Anyone working at heights above 6 feet requires appropriate fall protection including harnesses, lanyards, and secure anchor points meeting OSHA requirements.
- Lift and ladder safety: Boom lifts, scissor lifts, and extension ladders demand operator training, proper setup on level surfaces, and adherence to manufacturer weight and reach limits.
- Electrical hazards: Gymnasium ceilings often contain electrical wiring, fixtures, and conduit. Identify all electrical systems before beginning work and maintain safe clearances from energized components.
- Team coordination: Installation projects require clear communication between personnel on lifts, spotters managing equipment, and coordinators directing overall installation ensuring everyone understands procedures and hand signals.
Facility Protection Measures
Safeguarding gymnasium surfaces and equipment during installations prevents costly damage:
- Floor protection: Cover basketball courts, wood gymnasium floors, and other finished surfaces with protective materials preventing scratches, dropped tool impacts, or equipment damage.
- Equipment removal: Lower basketball hoops, fold bleachers, and relocate movable equipment creating clear work areas and eliminating damage risks to athletic gear.
- Dust and debris containment: Drilling, cutting, or structural work generates debris that must be contained and cleaned preventing damage to gymnasium floors or HVAC systems.
- Access control: Restrict facility access during installation work ensuring unauthorized personnel don’t enter work areas where overhead hazards exist.
Banner Arrangement and Design Planning
Visual presentation significantly impacts how championship banners enhance facility aesthetics:
Layout and Positioning Strategies
Thoughtful banner arrangements create cohesive visual presentations:
- Chronological ordering: Arrange banners sequentially by year creating visual timelines of program achievement. This approach works especially well for programs with consistent championship success.
- Sport-specific grouping: Organize banners by sport—basketball championships together, volleyball titles grouped, football achievements clustered—helping visitors quickly identify accomplishments in specific programs.
- Achievement level organization: Group conference championships separately from state titles, district achievements distinct from national recognition, creating hierarchical presentations emphasizing greatest accomplishments.
- Balanced distribution: Distribute banners evenly around facility perimeters avoiding one-sided concentrations that create visual imbalance or make certain gymnasium areas feel cluttered.
Size and Scale Considerations
Banner dimensions affect visual impact and facility aesthetics:
- Standard championship banner sizes: Most high school championship banners measure 2’ x 8’ to 3’ x 10’, providing visibility without overwhelming gymnasium spaces.
- Special recognition displays: Major achievements like state championships or historic milestone seasons may warrant larger commemorative banners that stand apart from standard conference recognition.
- Consistent sizing: Maintaining uniform banner dimensions within categories creates visual cohesion. Mixing dramatically different banner sizes often appears disorganized or unplanned.
- Proportional spacing: Space between banners should roughly equal 1-2 times banner width preventing crowded appearances while maintaining visual connection between related achievements.
Programs developing comprehensive recognition plans that complement championship banners often incorporate team leadership development and creative team recognition approaches building program culture around achievement celebration.
Essential Hardware and Materials for Banner Installation
Selecting appropriate installation hardware ensures banners hang securely while protecting facility structures:
Mounting Hardware Options
Different ceiling structures require specific mounting approaches:
Eye Bolt Installations
Eye bolts provide secure mounting points for cable-hung banner systems:
- Structural mounting: Install eye bolts directly into structural steel beams, wood trusses, or other load-bearing members—never into non-structural elements like drop ceiling grids or finish materials.
- Bolt specifications: Use minimum 3/8" diameter eye bolts with threads engaging at least 1.5" into structural members. Heavy banner installations may require 1/2" or larger bolts.
- Load ratings: Select eye bolts rated for minimum 5x the anticipated banner and hardware weight. A 10-pound banner requires eye bolts rated for at least 50 pounds.
- Installation technique: Pre-drill pilot holes slightly smaller than bolt diameter, apply thread-locking compound, and torque bolts to manufacturer specifications ensuring secure mounting.
Beam Clamps and Structural Attachments
Beam clamps provide non-penetrating mounting options for steel structures:
- C-clamp systems: Structural beam clamps grip I-beams and structural members without drilling, offering adjustable positioning and removability if banner arrangements change.
- Load capacity: Select beam clamps rated significantly above banner weights accounting for dynamic loads from air movement and accumulated dust/moisture weight over time.
- Anti-slip features: Use clamps with serrated grips or set screws that lock positions preventing gradual slippage under continuous loads.
- Corrosion resistance: Specify galvanized or stainless steel clamps in gymnasiums where moisture or cleaning chemicals might accelerate corrosion of standard steel hardware.

Cable and Rope Systems
Cables or ropes suspend banners from ceiling mounting points:
- Aircraft cable specifications: Use minimum 1/16" diameter vinyl-coated stainless steel aircraft cable for most banner applications. Heavier displays may require 3/32" cable.
- Cable terminations: Install professional ferrules and cable clamps creating secure loops at cable ends. Avoid knots in aircraft cable as they significantly reduce strength and create failure points.
- Adjustment mechanisms: Incorporate cable grip clips or turnbuckles allowing height adjustments ensuring banners hang level and at consistent heights.
- Safety factors: Size cable systems for minimum 5x working loads. A 10-pound banner should hang from cables rated for at least 50 pounds working load.
Alternative hanging systems using cord or rope work for lighter banners but require UV-resistant materials that won’t degrade under gymnasium lighting over years of continuous display.
Banner Attachment Hardware
Hardware connecting banners to hanging cables requires careful selection:
Grommets and Reinforcements
Banner top edges require robust attachment points:
- Grommet specifications: Install rustproof brass or stainless steel grommets at minimum 12" intervals along banner tops. Larger or heavier banners may require 8" spacing.
- Reinforcement strips: Apply reinforcement strips—additional fabric layers or webbing—behind grommet areas distributing loads and preventing tearing.
- Edge finishing: Hem all banner edges preventing fraying. Reinforce hems along tops and sides where mounting hardware creates concentrated stresses.
- Corner reinforcement: Add extra reinforcement at banner corners where material experiences maximum stress from weight and wind loading.
Clips, Hooks, and Fasteners
Various hardware connects banners to suspension cables:
- S-hooks: Simple S-hooks provide quick connections between grommets and suspension cables. Select hooks with closed or safety-catch designs preventing accidental disconnection.
- Carabiners: Small carabiners offer secure, releasable connections useful when banners require periodic removal for events or maintenance.
- Split rings: Heavy-duty split rings create permanent connections between grommets and cables for banners intended as permanent installations.
- Quick-link connectors: Screw-pin quick links provide secure connections that remain easily serviceable when adjustments or banner repositioning becomes necessary.
Step-by-Step Installation Procedures
Systematic installation processes ensure safe, professional banner mounting:
Installation Preparation
Thorough preparation prevents delays and safety issues:
Facility Preparation Checklist
Before beginning installation work:
- Clear gymnasium floor of all movable equipment creating safe work areas
- Protect finished flooring with appropriate covering materials
- Verify all tools, hardware, and materials arrived and meet specifications
- Confirm adequate personnel present for safe lifting and spotting operations
- Review installation plan ensuring all team members understand procedures
- Test lift equipment and ladders verifying proper operation
- Establish clear communication protocols and hand signals
- Identify emergency contact information and first aid resources
Final Measurement Verification
Confirm all dimensions before drilling or mounting:
- Measure exact mounting point locations matching installation drawings
- Verify spacing between mounting points ensuring consistent banner positioning
- Double-check floor-to-mounting-point heights confirming adequate clearances
- Mark mounting locations clearly using temporary marking methods
- Have second person verify measurements before beginning permanent installations
Mounting Point Installation
Installing secure ceiling attachment points requires precision:
Eye Bolt Installation Steps
For ceiling structures requiring drilled mounting:
- Position lift equipment safely under marked mounting location ensuring stable setup and adequate reach
- Verify structural member location using stud finders, blueprints, or test drilling confirming structural material present
- Drill pilot hole to appropriate diameter for eye bolt threads ensuring perpendicular angle to mounting surface
- Clean hole removing all drilling debris ensuring threads engage cleanly
- Apply thread-locking compound to eye bolt threads preventing loosening from vibration over time
- Install eye bolt hand-tightening, then using wrench to torque per specifications
- Verify secure mounting applying test loads confirming bolt resists pull-out forces
Beam Clamp Installation Procedures
For non-penetrating mounting on structural steel:
- Clean beam surfaces removing dirt, rust, or coatings that might reduce clamp grip
- Position clamp on beam flange at marked location ensuring clamp fully seats against beam surfaces
- Tighten clamp mechanism gradually applying even pressure while verifying clamp remains centered and seated
- Torque to specifications using appropriate tools achieving manufacturer-recommended tightness
- Verify secure grip attempting to slide clamp along beam confirming it resists movement
- Apply witness marks using permanent marker indicating original clamp position allowing periodic inspection detecting any slippage
Cable Installation and Banner Hanging
With mounting points secured, install suspension systems:
Cable Rigging Procedures
Installing suspension cables requires attention to detail:
- Measure cable lengths accounting for mounting point height, desired banner bottom elevation, and extra length for termination hardware
- Install cable terminations using ferrules and cable clamps or pre-fabricated loops at cable top ends
- Attach cables to mounting points using quick-links, carabiners, or direct connections ensuring secure engagement
- Install height adjustment hardware incorporating cable grips or turnbuckles at appropriate positions
- Verify cable plumb ensuring cables hang vertically without angles or twists
- Trim excess cable leaving appropriate working length for adjustments while removing excess that appears unprofessional
Banner Attachment and Leveling
Connecting banners to suspension cables completes installation:
- Attach banner to cables using S-hooks, carabiners, or split rings through grommets spacing connections evenly across banner width
- Raise banner to approximate height using adjustment hardware positioning banner slightly above final elevation
- Check for level using laser levels or long levels verifying banner hangs horizontally
- Make fine adjustments raising or lowering cable attachment points achieving perfectly level banner presentation
- Verify spacing consistency confirming distances between multiple banners remain uniform
- Document final positions photographing installations and recording measurements for future reference
Athletic programs balancing traditional championship banners with contemporary recognition often integrate coaching philosophy development and creative helmet award traditions creating comprehensive recognition cultures.
Maintenance and Long-Term Care
Championship banners require ongoing maintenance preserving appearance:
Regular Inspection Procedures
Systematic inspection prevents failures and identifies maintenance needs:
Quarterly Visual Inspections
Every three months, conduct thorough visual assessments:
- Hardware condition: Examine all mounting hardware for corrosion, loosening, or damage requiring attention
- Cable integrity: Inspect cables for fraying, corrosion, or damage particularly at termination points experiencing concentrated stress
- Banner condition: Look for tears, fading, mildew growth, or other deterioration affecting appearance or structural integrity
- Level and alignment: Verify banners remain level and properly positioned detecting any hardware slippage or adjustment needs
Annual Detailed Inspections
Once yearly, perform comprehensive assessments:
- Close hardware examination: Remove banners and closely inspect all mounting hardware for wear, corrosion, or developing problems
- Load testing: Carefully apply test loads to suspension systems verifying continued strength and security
- Structural assessment: Examine mounting points and surrounding structures for signs of deterioration, movement, or damage
- Documentation updates: Photograph current conditions, update maintenance records, and plan any needed repairs or replacements
Cleaning and Restoration
Preserving banner appearance requires periodic cleaning:
Routine Dust Removal
Accumulated dust diminishes banner appearance:
- Regular dusting: Use extension poles with soft brush attachments gently removing surface dust without damaging banner materials
- Vacuum cleaning: Carefully vacuum banners using brush attachments on low suction preventing fabric damage
- Timing cleaning: Schedule cleaning before major events, homecomings, or other occasions when facility appearance matters most
Deep Cleaning Procedures
Heavily soiled banners may require more intensive cleaning:
- Banner removal: Take down banners requiring deep cleaning rather than attempting to clean in-place
- Gentle washing: Hand wash banners using mild detergent and cool water avoiding harsh chemicals that might damage printing or fabric
- Air drying: Allow banners to dry completely before reinstalling preventing mildew growth from trapped moisture
- Professional cleaning: Consider professional banner cleaning services for valuable or delicate displays
Alternative and Complementary Display Solutions
Modern facilities increasingly combine traditional championship banners with contemporary options:
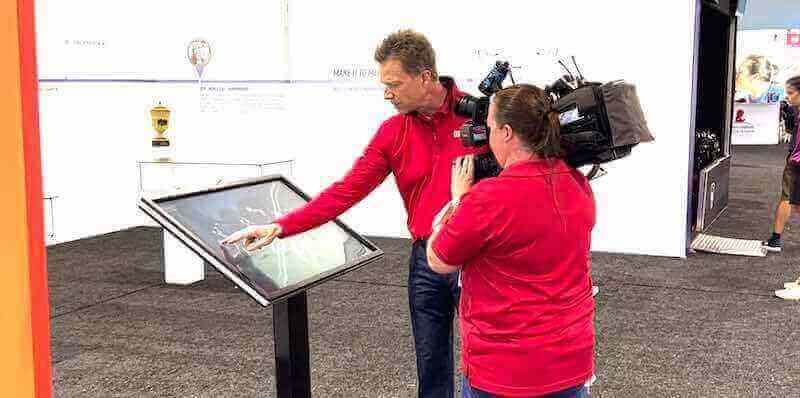
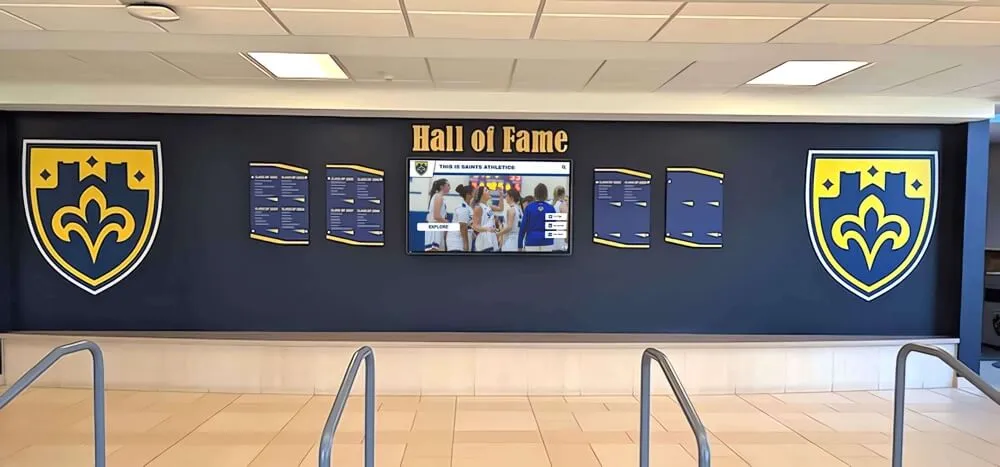
Digital Championship Recognition
Technology enables flexible recognition displays:
Digital Display Advantages
Digital systems offer benefits complementing fabric banners:
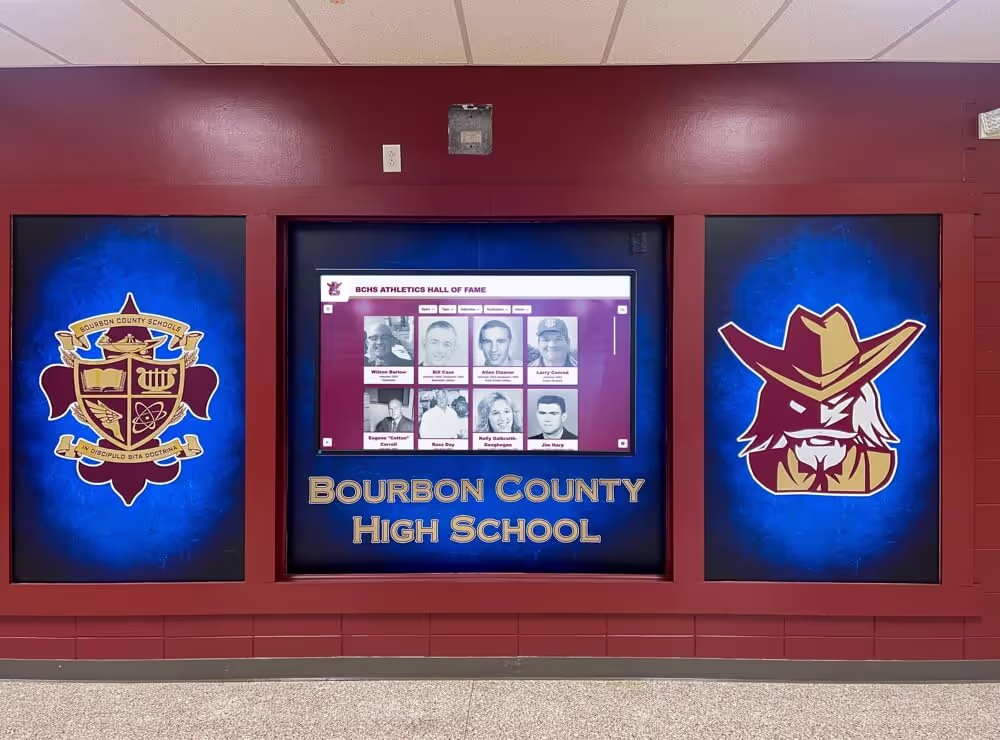
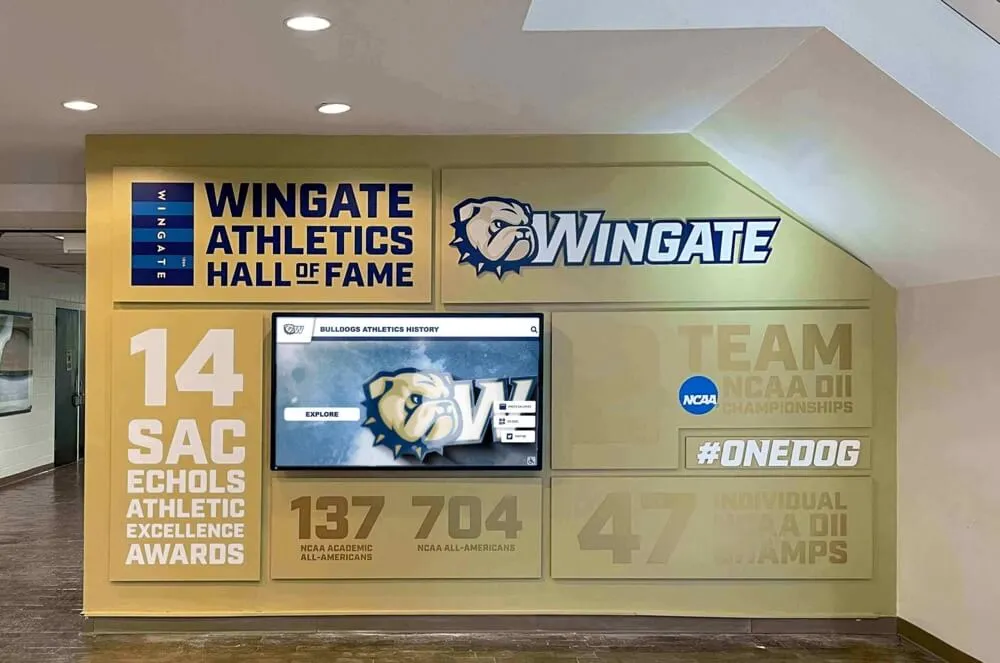
- Unlimited capacity: Digital displays accommodate unlimited championships without ceiling space constraints or structural load concerns
- Easy updates: Add new championships instantly without installation projects, costs, or facility access requirements
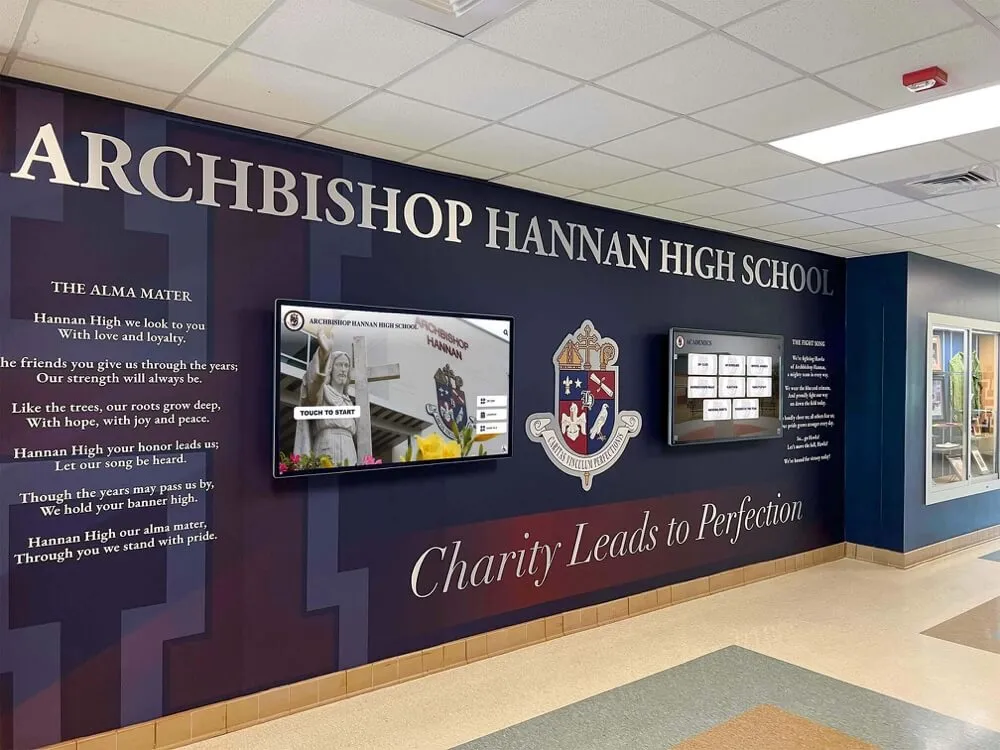
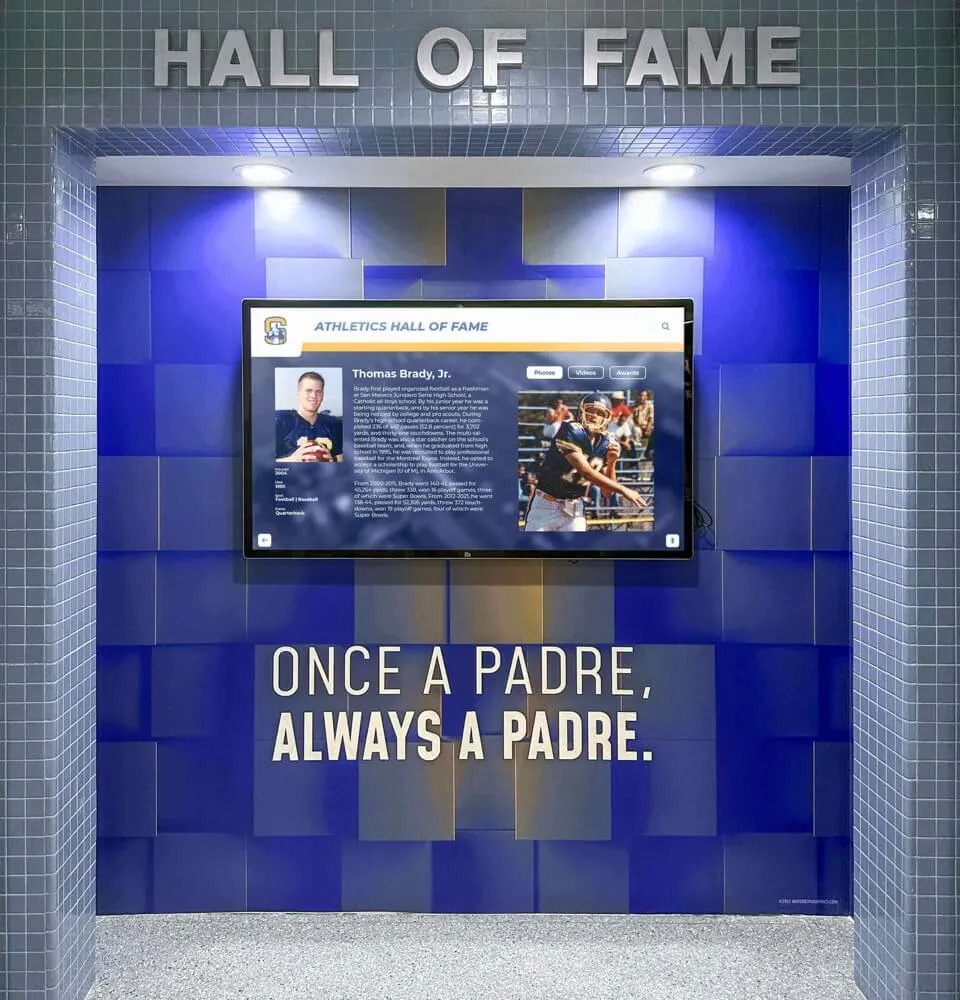
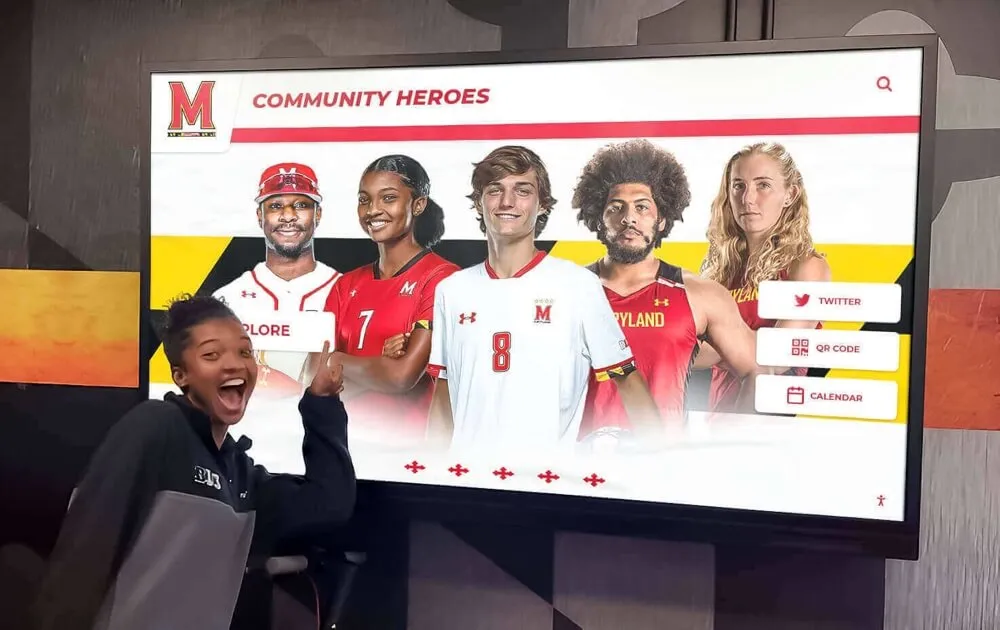
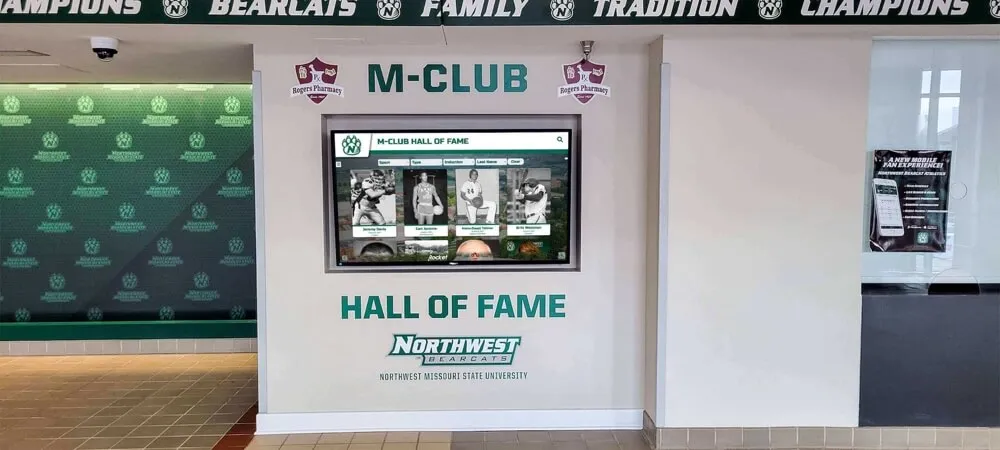
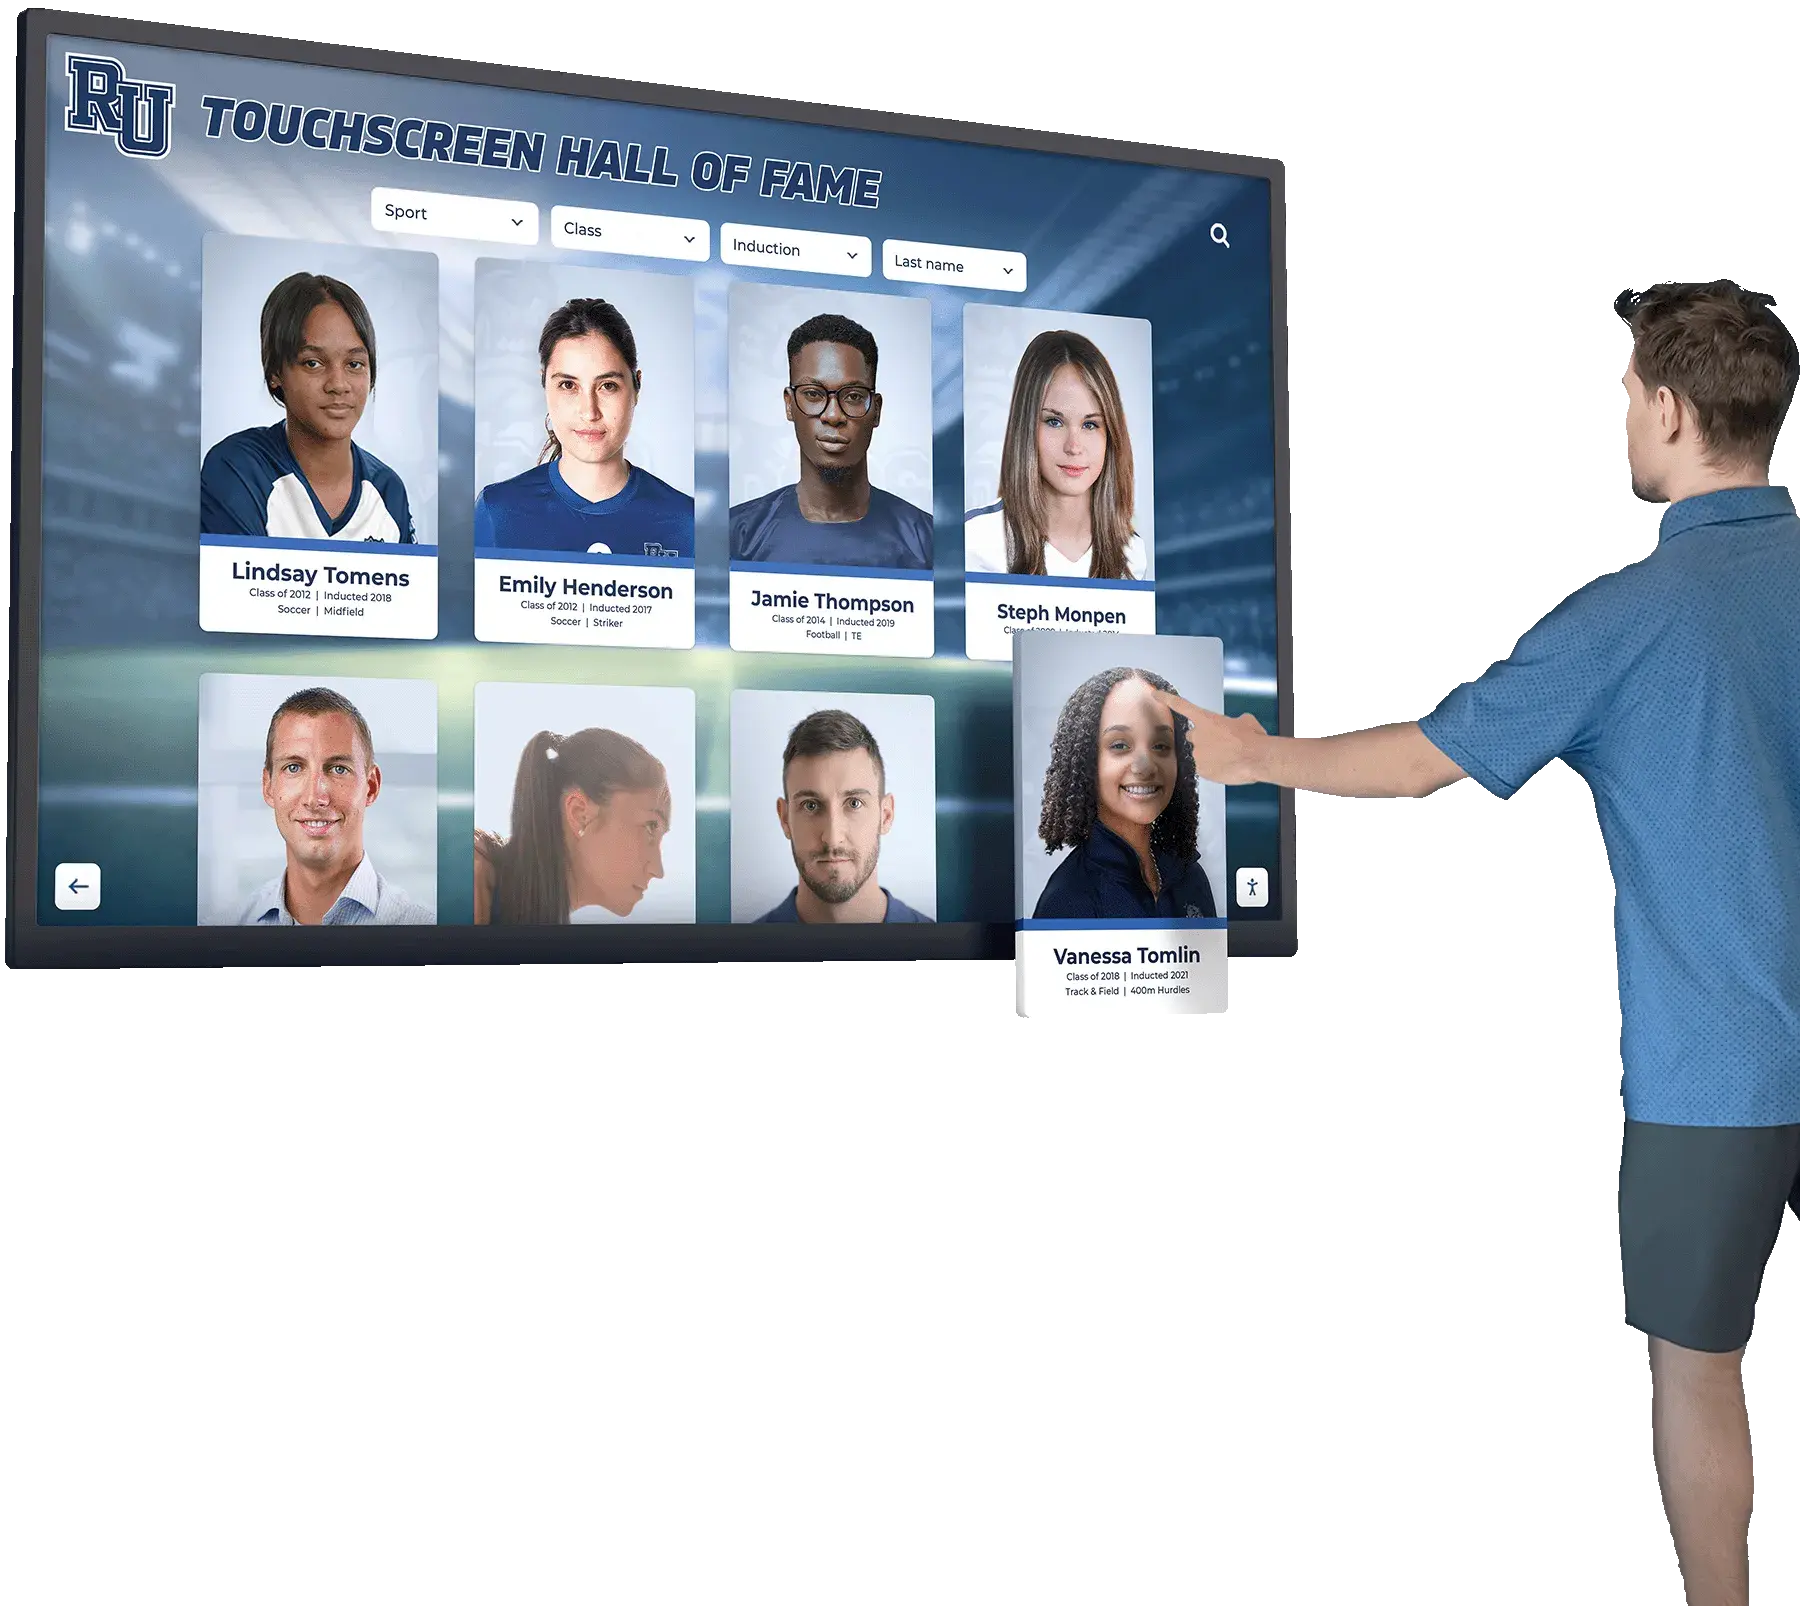
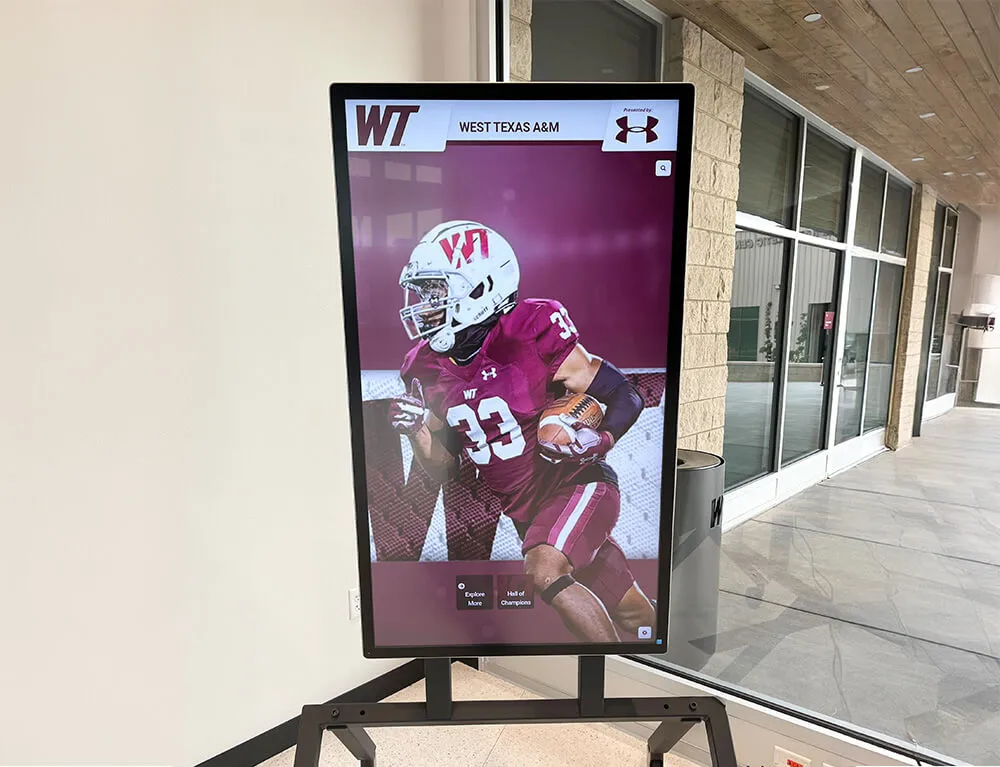
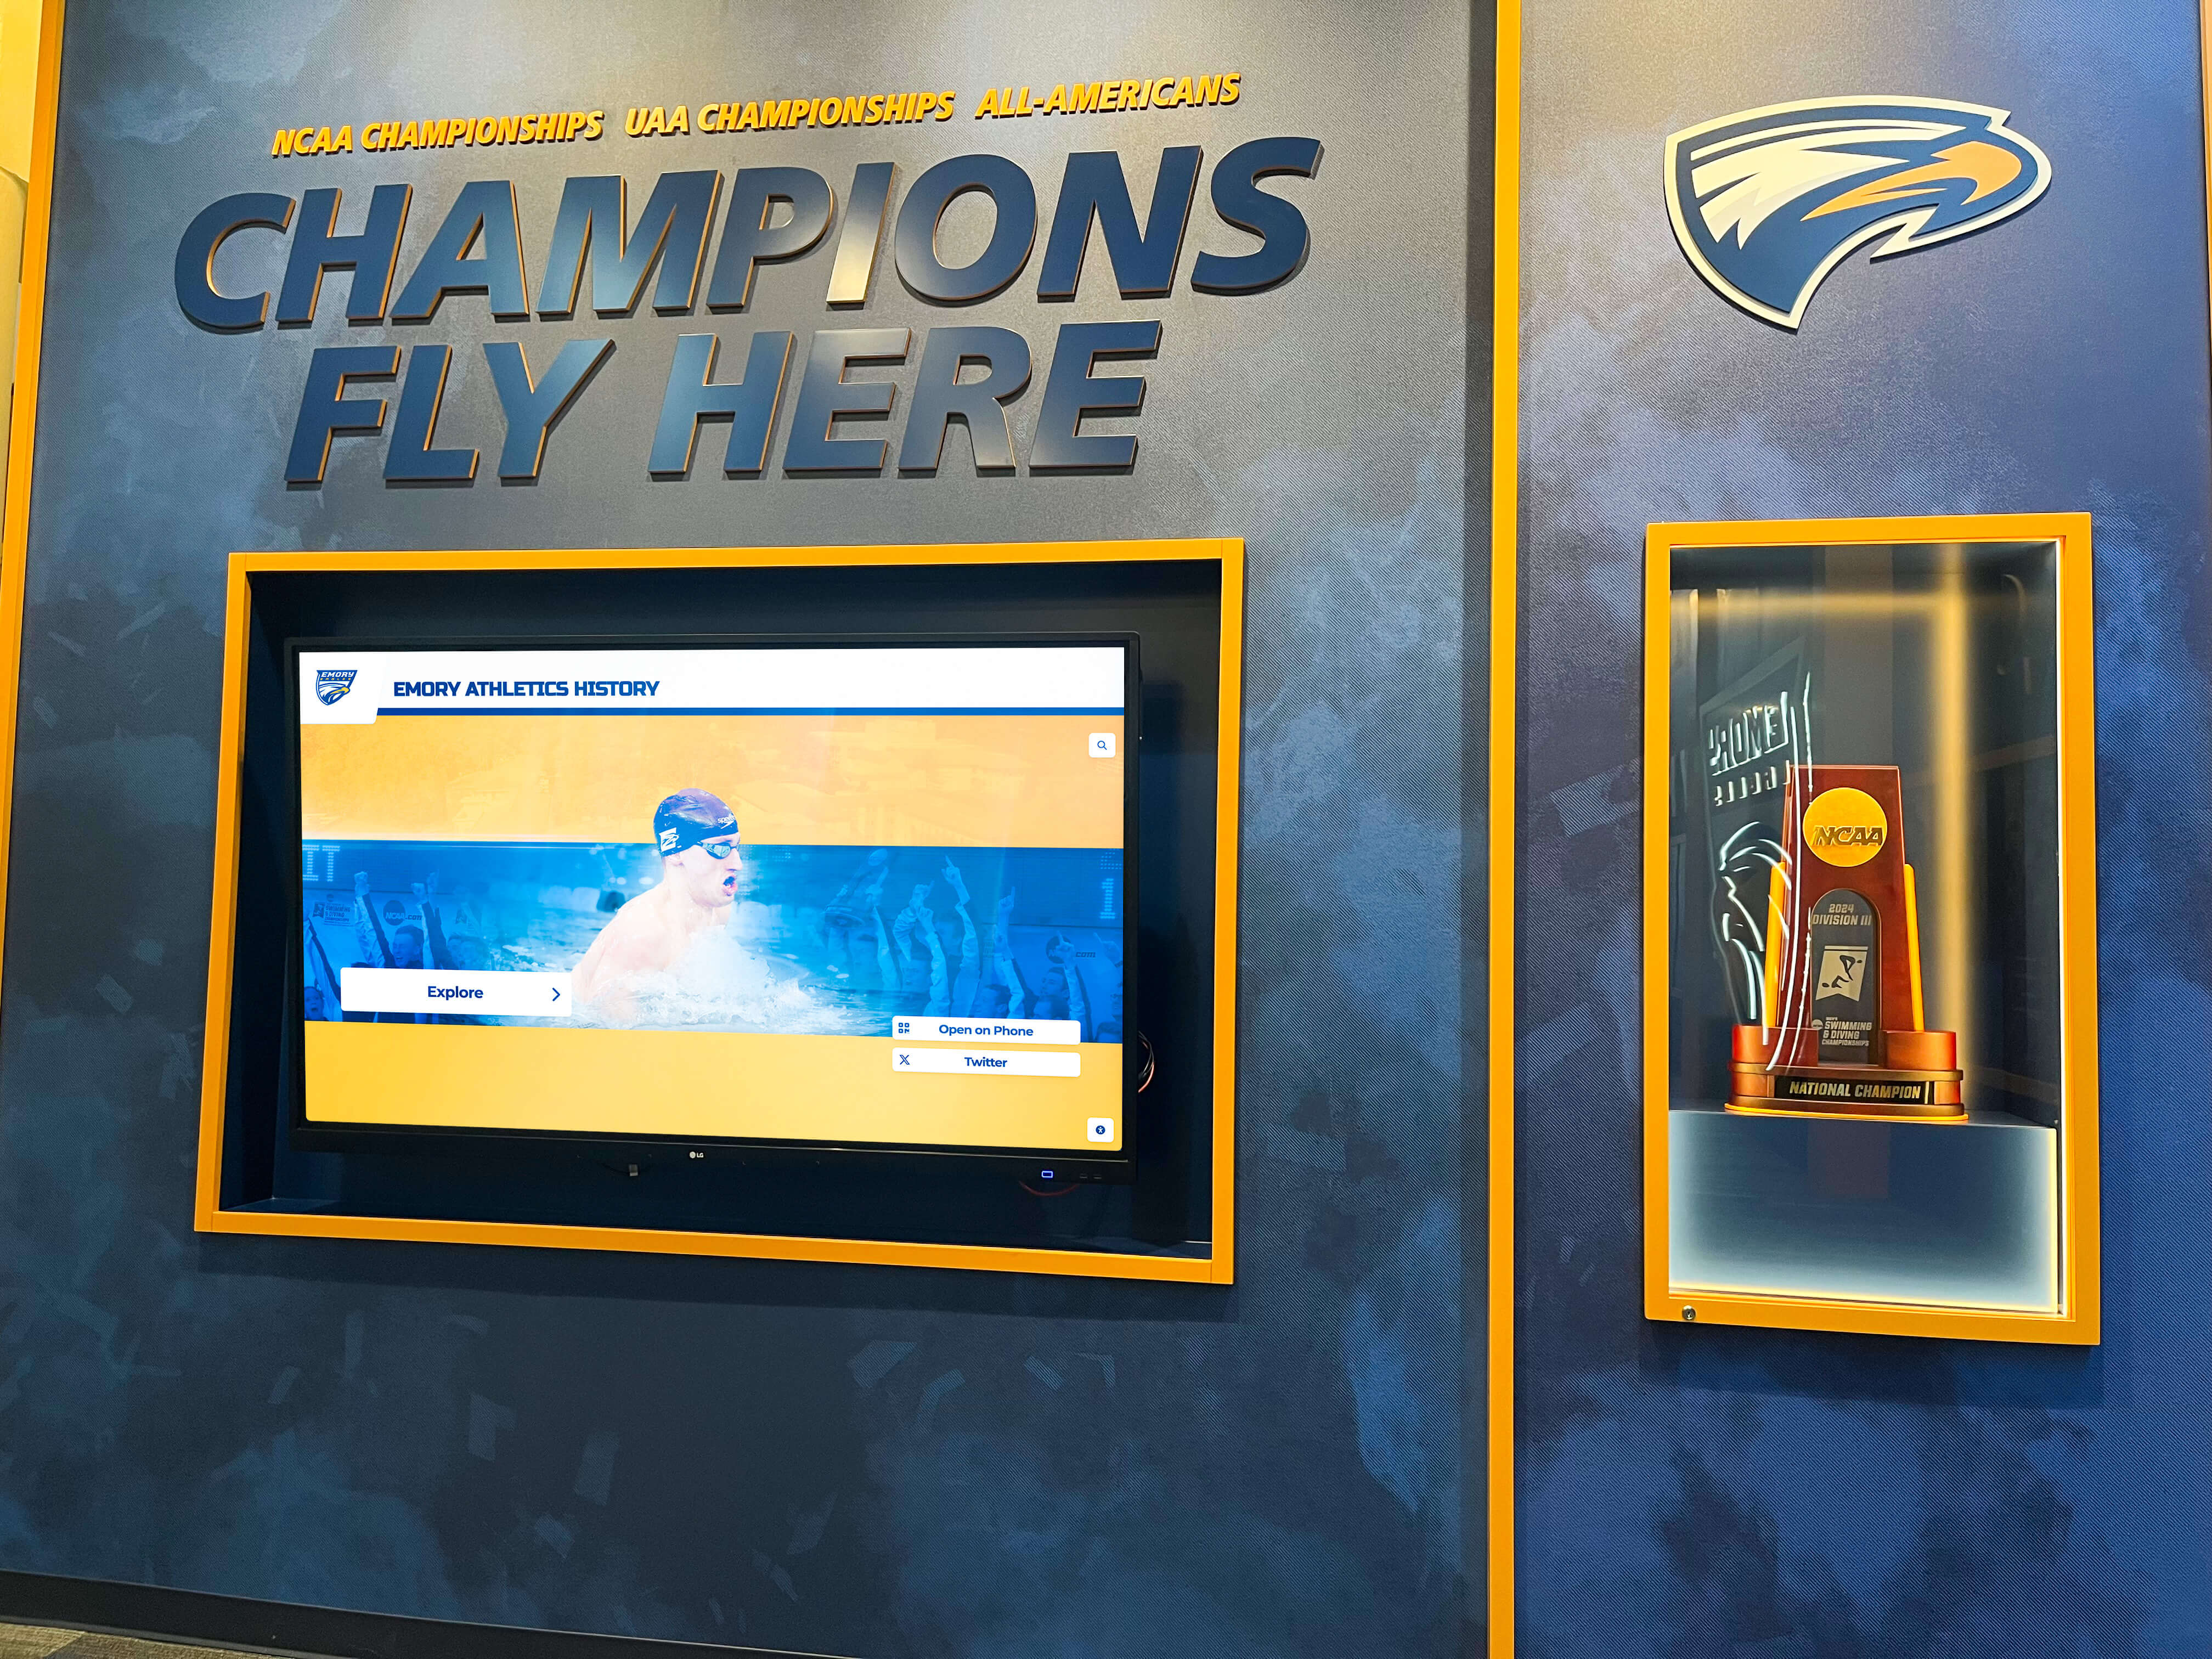
- Enhanced content: Include photos, videos, player rosters, statistics, and detailed stories impossible on fabric banners
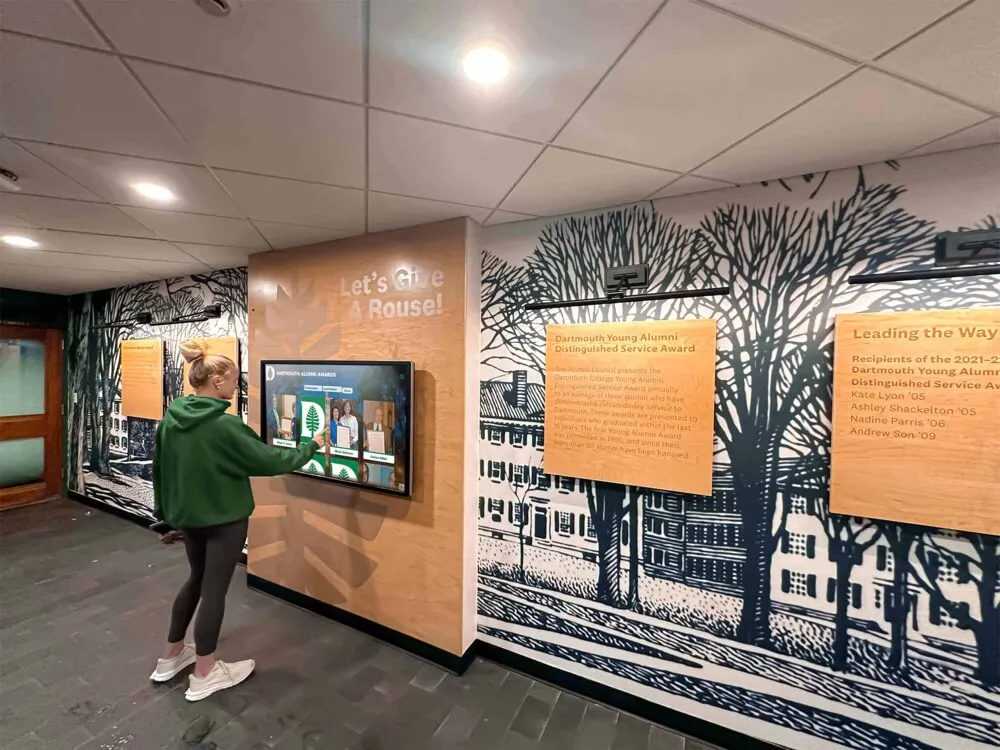
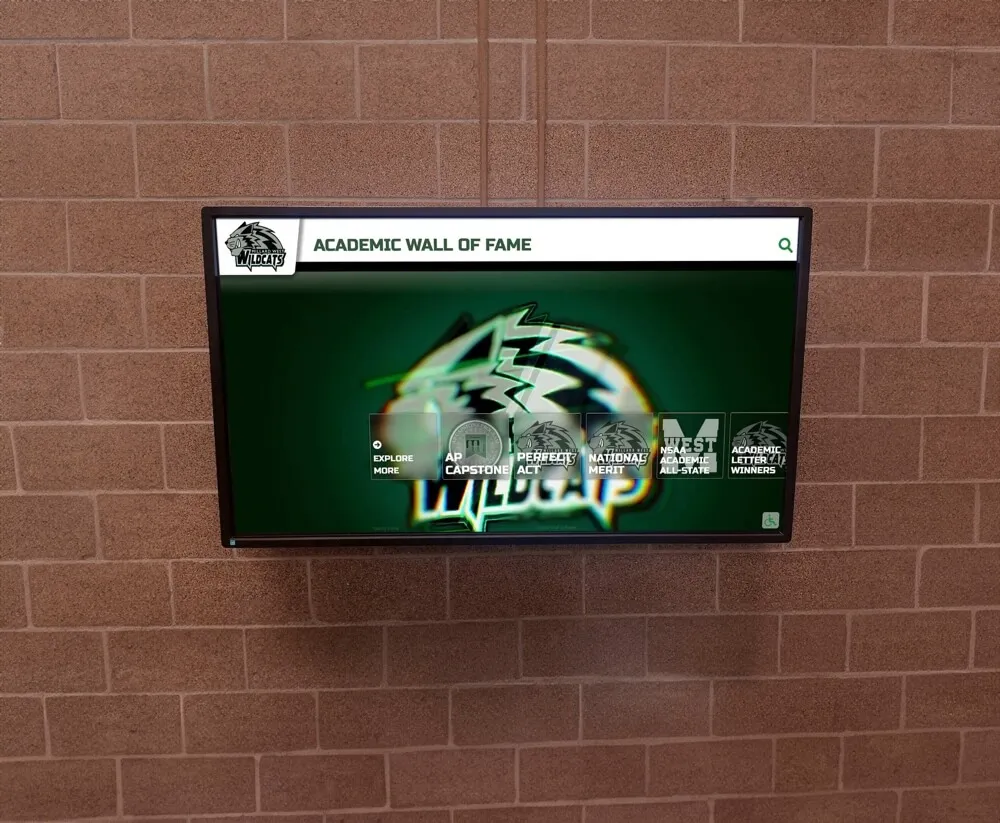
- Accessibility compliance: Digital systems provide accessible recognition meeting ADA requirements for accessible touchscreen displays
Schools evaluating recognition options often compare virtual hall of fame platforms alongside traditional physical displays determining optimal combinations.
Hybrid Recognition Approaches
Many programs implement combined strategies:
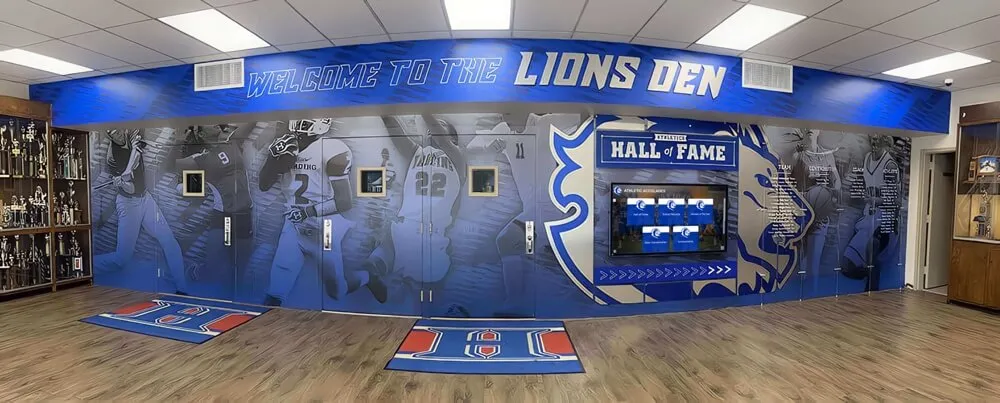
- Featured banner displays: Hang fabric banners for major achievements like state championships while using digital displays for complete championship records
- Historical banners plus digital updates: Maintain traditional banners for historical significance while adding current recognition through digital systems
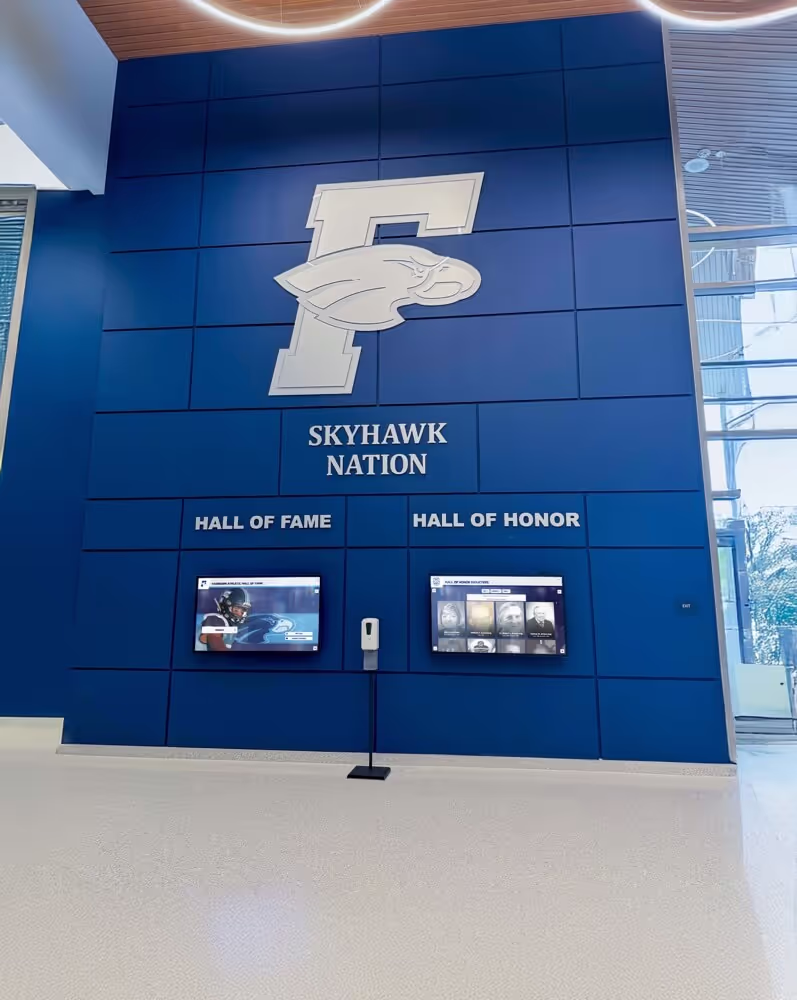
- Sport-specific approaches: Implement different recognition methods for different programs based on championship frequency and space availability
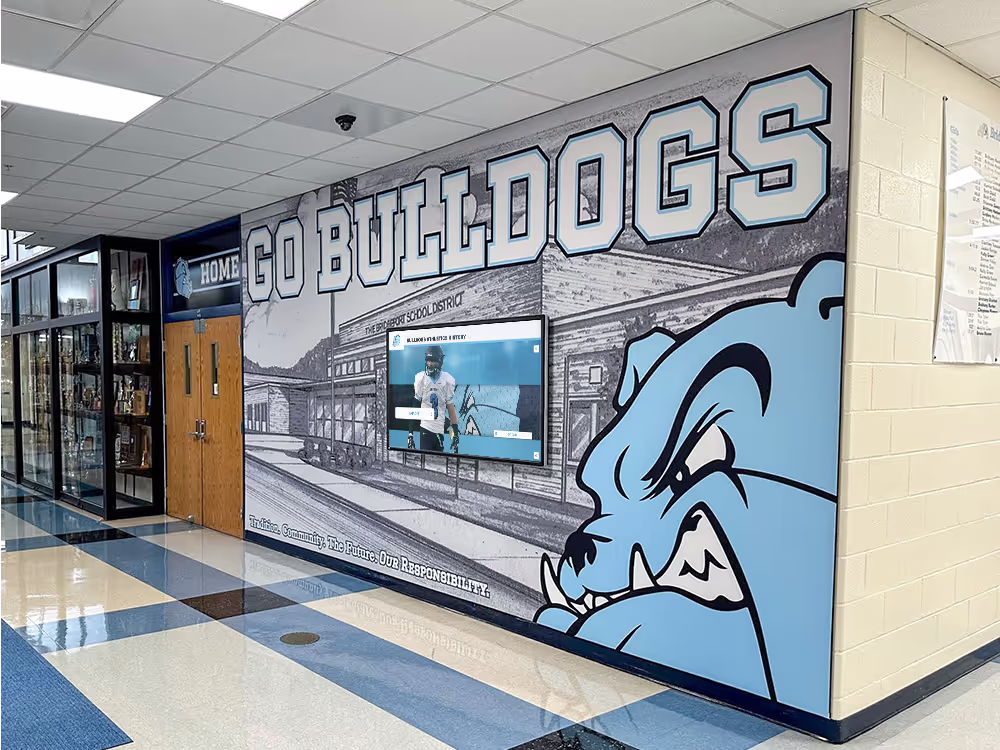
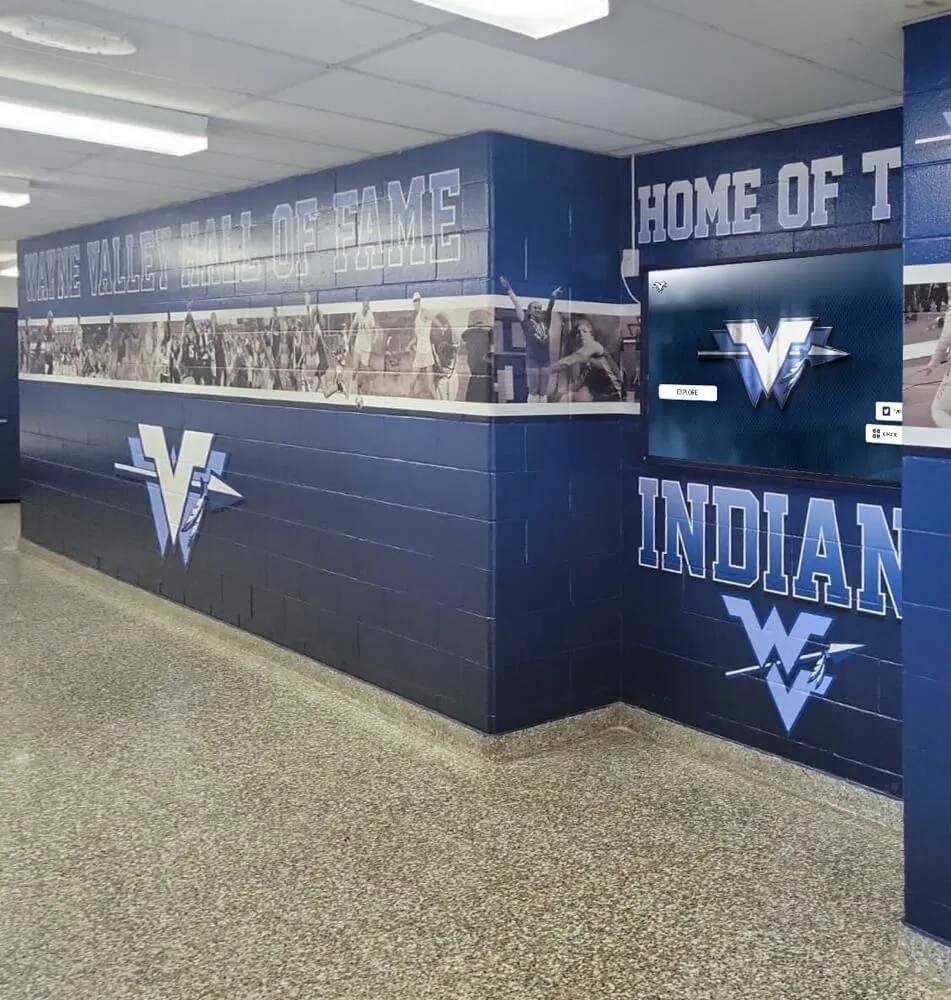
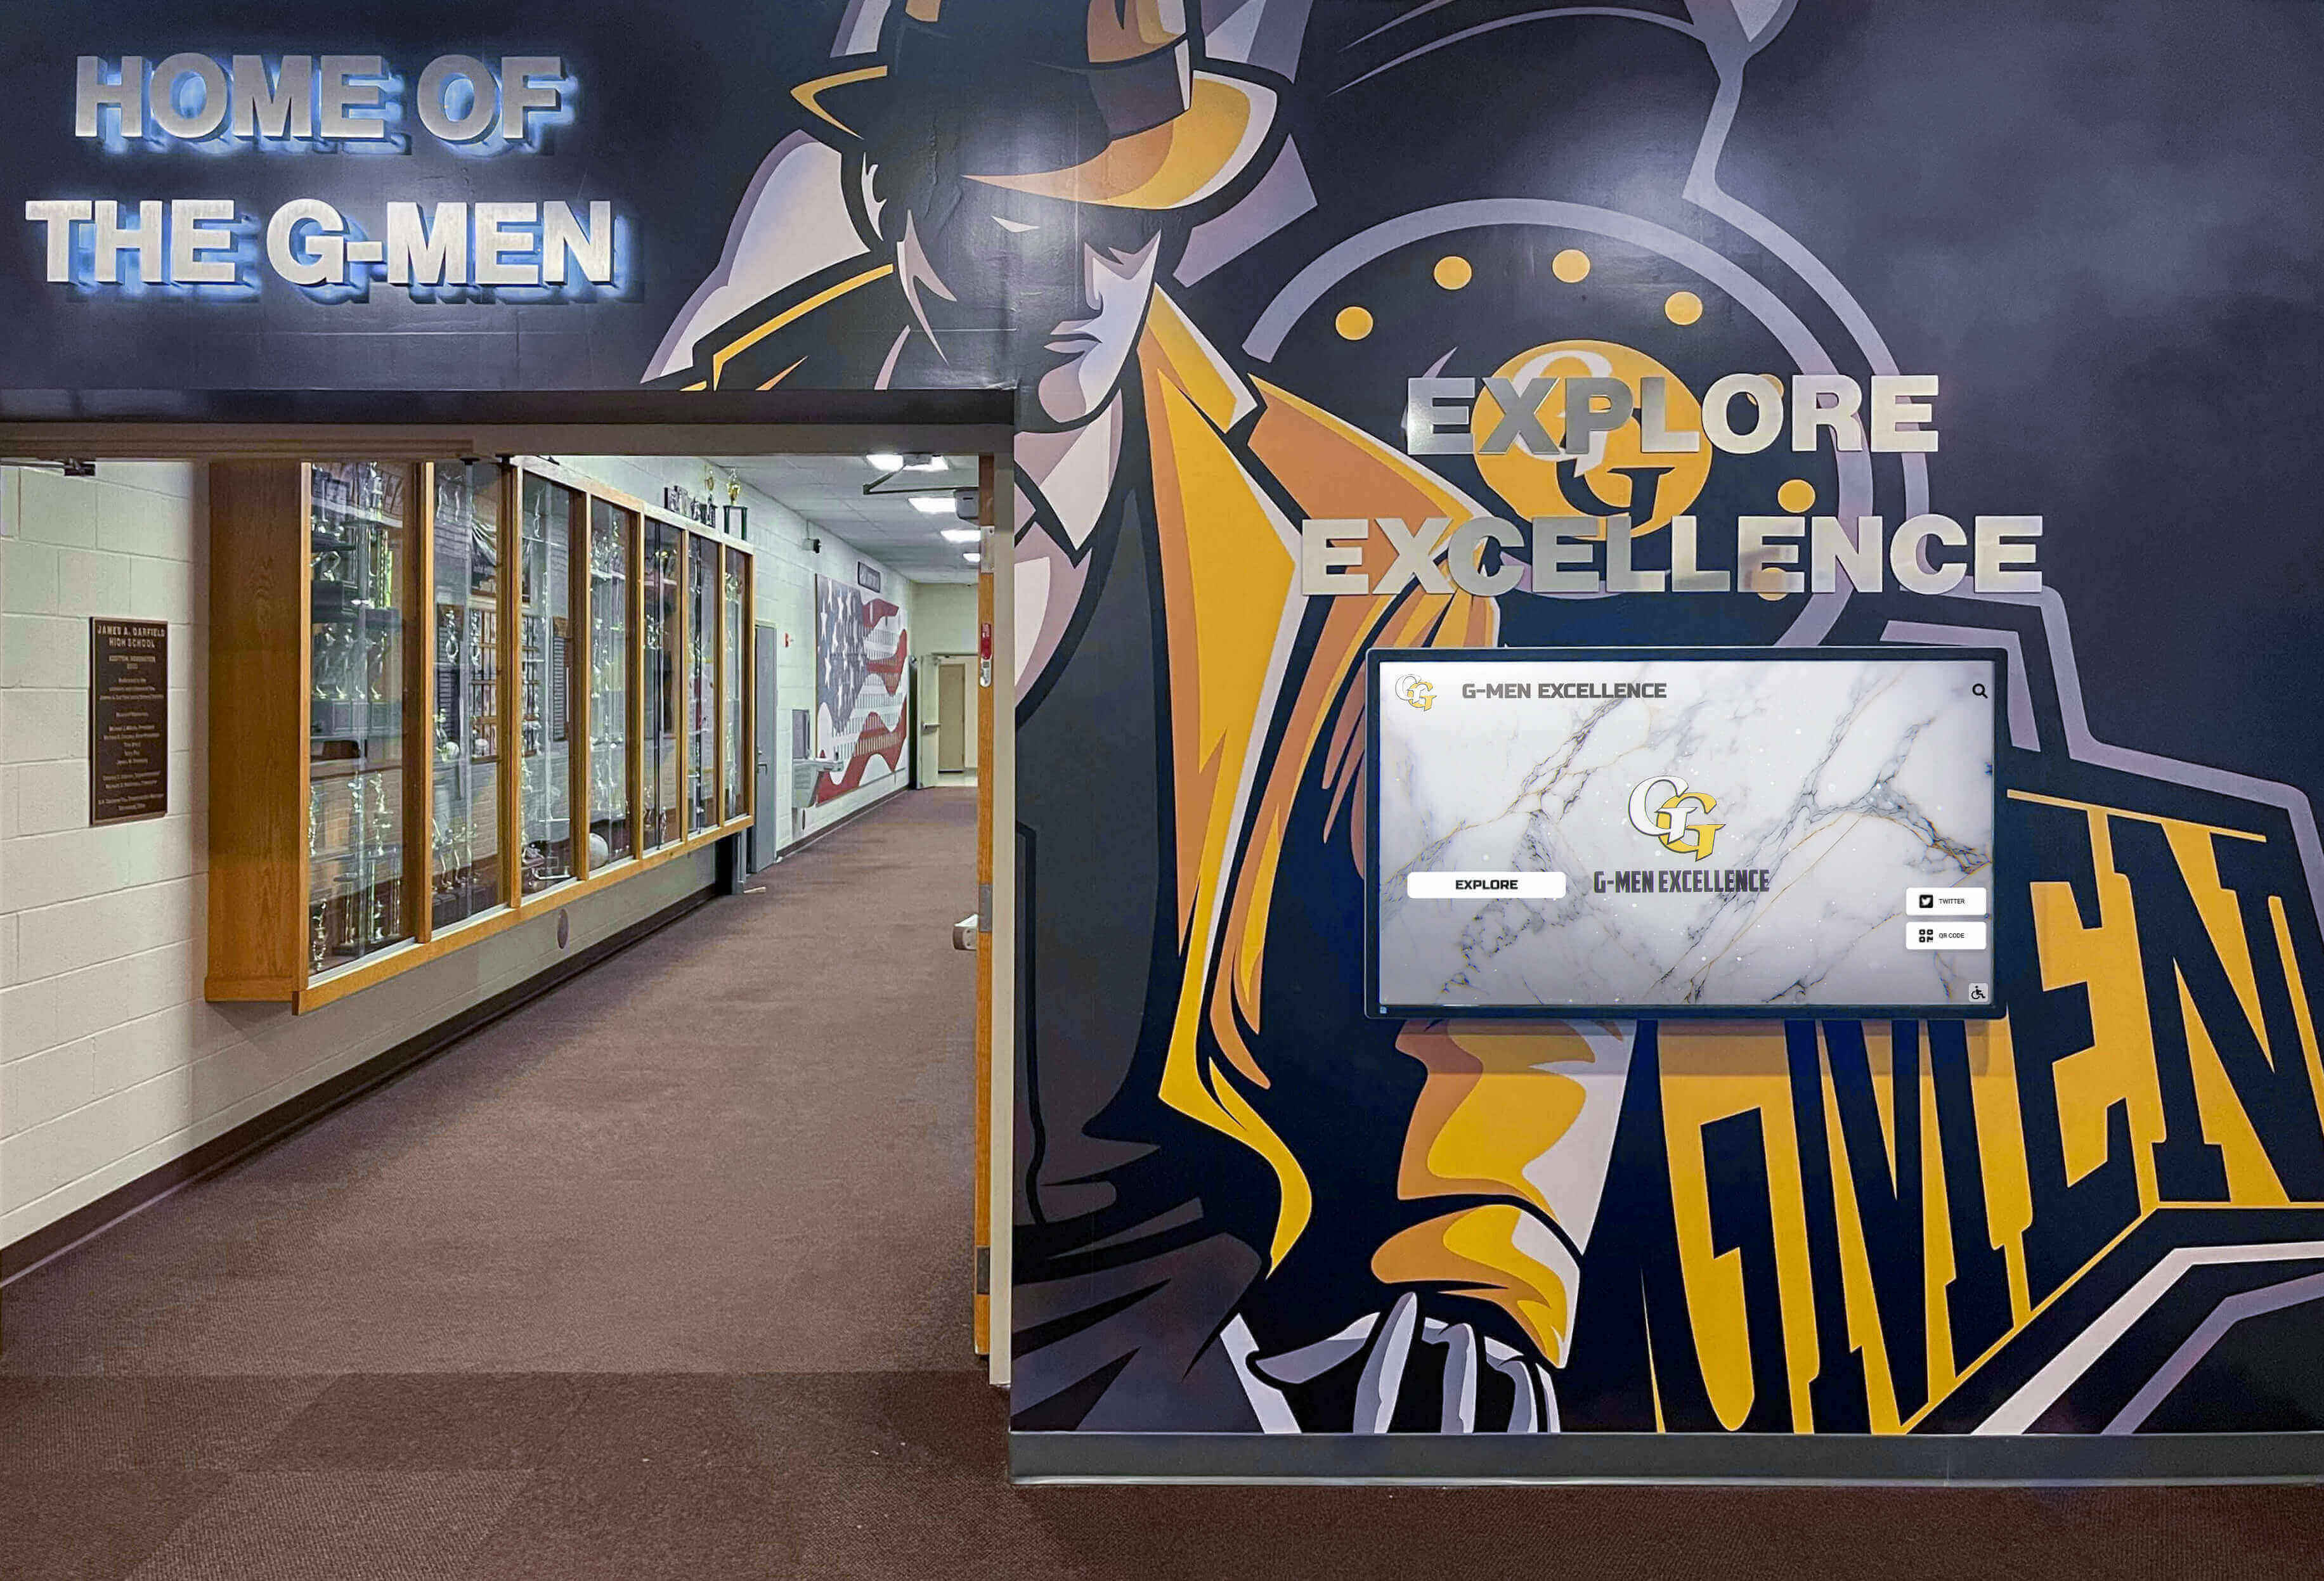
- Entrance statements: Use impressive banner displays in gymnasium entrances while relying on digital systems for comprehensive recognition in other locations
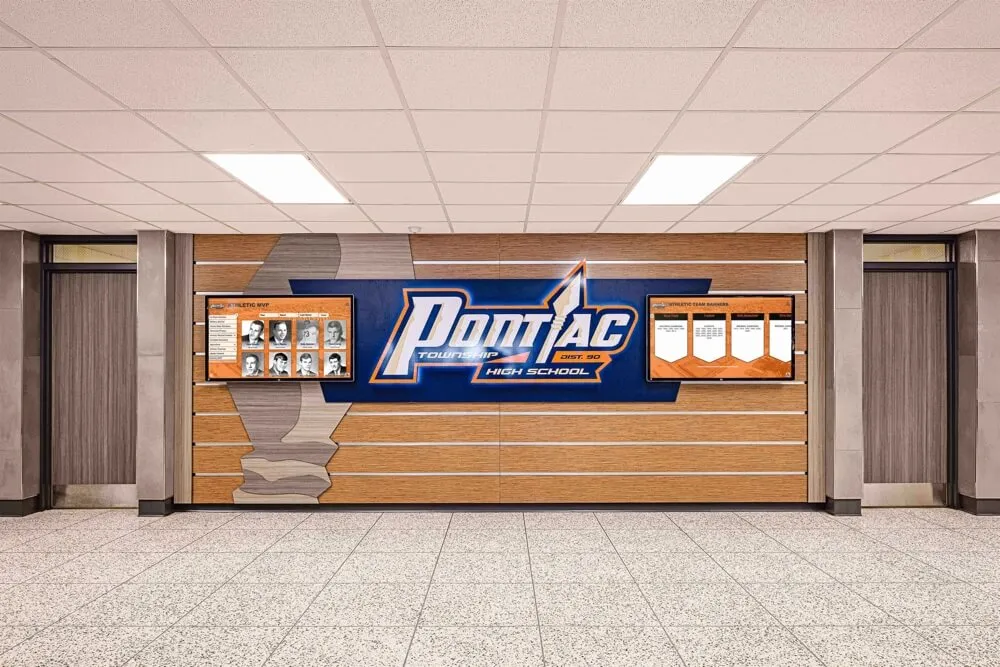
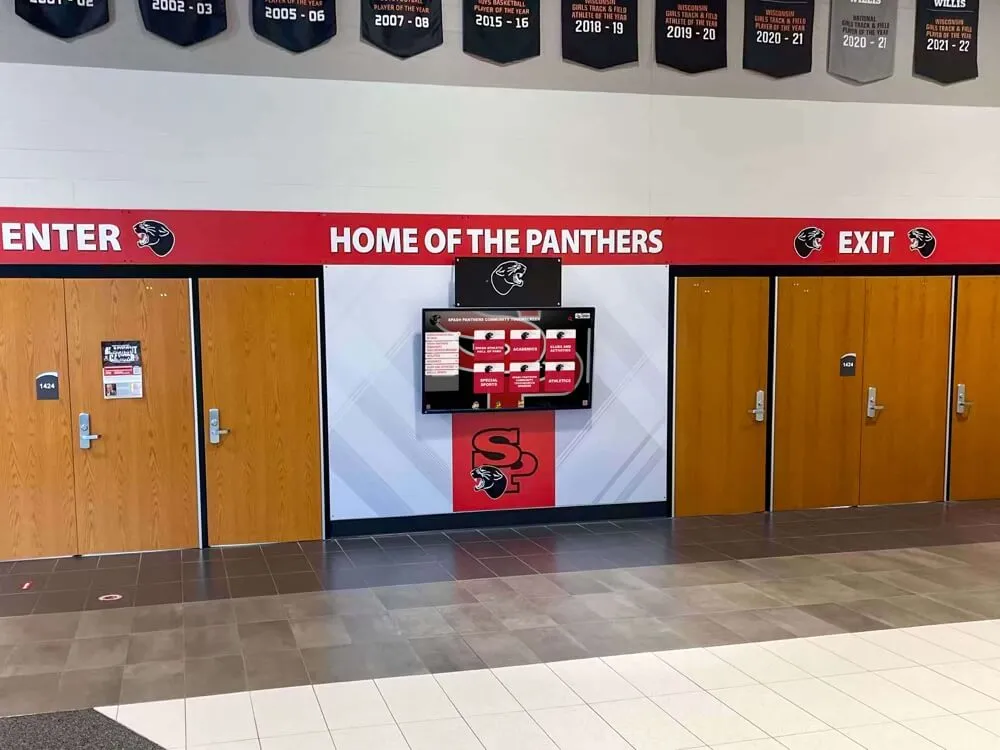
Wall-Mounted Banner Systems
Not all championship recognition requires ceiling mounting:
Vertical Wall Displays
Wall-mounted systems offer installation alternatives:
- Bracket-mounted banners: Install horizontal brackets on gymnasium walls providing hanging points for championship banners without ceiling work
- Track systems: Wall-mounted track systems allow sliding banners creating adjustable displays accommodating growing recognition needs
- Frame systems: Enclosed frames protect banners from dust and handling damage while providing professional presentation
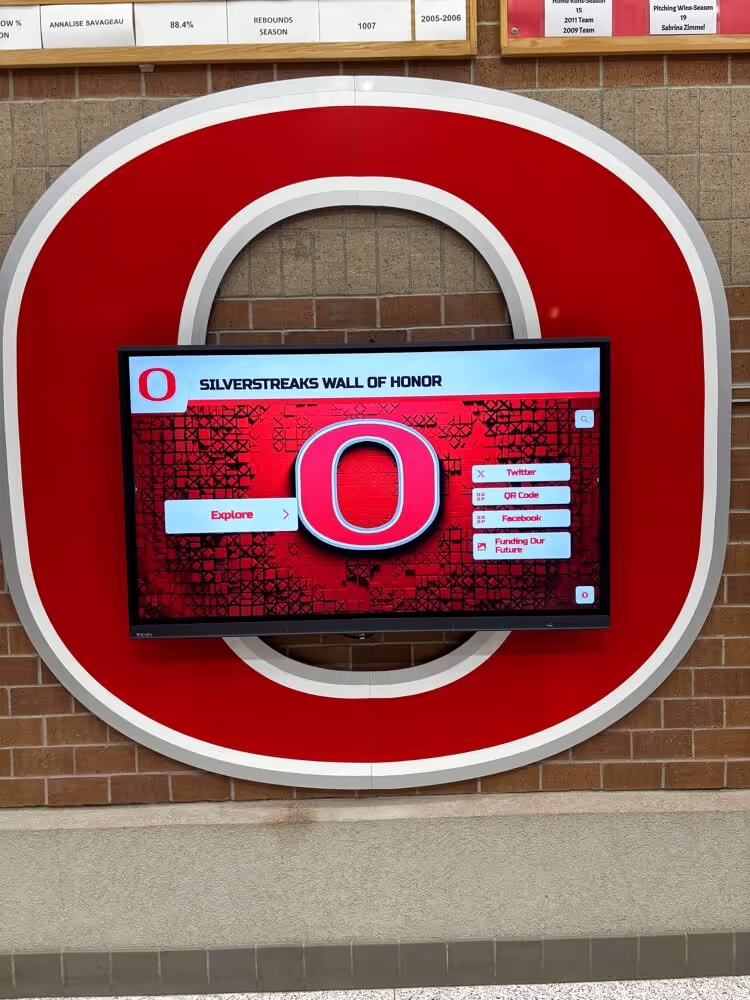
- Accessibility benefits: Wall-mounted displays place championship recognition at accessible viewing heights rather than distant ceiling locations
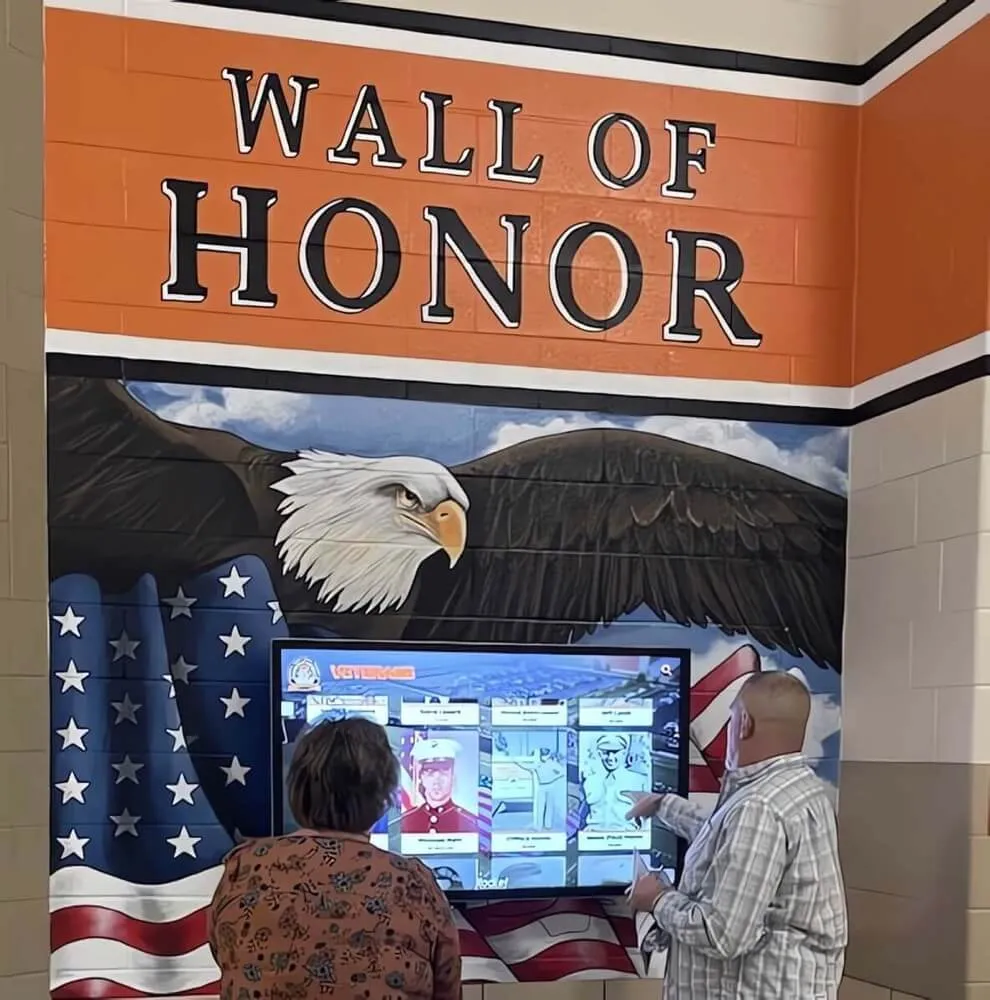
Programs recognizing diverse achievements implement comprehensive approaches including memorial recognition and academic excellence programs alongside athletic achievements.
Common Installation Mistakes to Avoid
Learning from frequent errors prevents problems:
Structural and Safety Errors
Critical mistakes compromise safety and longevity:
Inadequate Mounting Points
Using insufficient or inappropriate attachments creates failures:
- Non-structural mounting: Installing eye bolts into drop ceiling grids, drywall, or other non-structural elements leads to failures and falling banners
- Undersized hardware: Using eye bolts, cables, or other hardware inadequate for loads results in gradual loosening or sudden failures
- Poor spacing: Mounting points spaced too far apart cause banner sagging creating unprofessional appearance
- Incorrect angles: Installing mounting hardware at angles rather than straight up creates lateral forces promoting loosening
Safety Protocol Violations
Cutting corners on safety risks personnel injury:
- Improper fall protection: Working at heights without appropriate fall protection violates safety regulations and risks serious injury
- Unstable lifts: Operating aerial lifts on uneven surfaces, near edges, or beyond rated capacities creates tip-over hazards
- Inadequate spotters: Lift operation without trained spotters managing obstacles and hazards increases accident risks
- Unsecured work areas: Allowing unauthorized access under installation work areas creates falling object injury hazards
Aesthetic and Presentation Mistakes
Poor planning diminishes visual impact:
Inconsistent Arrangements
Lack of coherent organization appears unprofessional:
- Random positioning: Hanging banners wherever convenient rather than following planned arrangements creates cluttered, disorganized appearances
- Varying heights: Banners hung at different elevations without intentional tiered design look haphazard
- Inconsistent spacing: Irregular gaps between banners create visual confusion and amateur presentation
- Mixed sizes: Combining dramatically different banner sizes without intentional hierarchy appears disjointed
Overcrowding and Visual Clutter
Too many banners overwhelm facilities:
- Excessive density: Hanging every possible recognition banner creates cluttered appearances diminishing impact of significant achievements
- Poor sight lines: Positioning banners where they obstruct scoreboards, clocks, or other facility elements creates functional problems
- Competing with architecture: Overwhelming architectural features with excessive banners fights facility design rather than complementing it
- Neglecting negative space: Failing to allow empty space between banner groupings creates visual fatigue
Schools planning comprehensive recognition strategies often evaluate professional installation services ensuring expert execution and professional results.
Budget Considerations and Cost Management
Understanding installation costs helps programs plan effectively:
Initial Installation Expenses
Several cost components affect total project expenses:
Materials and Hardware Costs
Banner installation requires various materials:
- Mounting hardware: Eye bolts, beam clamps, and structural attachments typically cost $15-40 per mounting point depending on specifications
- Cable systems: Aircraft cable, terminations, and adjustment hardware run approximately $20-35 per banner for standard installations
- Banner attachment hardware: S-hooks, carabiners, and connection hardware add $5-15 per banner
- Safety equipment: Fall protection harnesses, lanyons, and anchor systems represent $200-500 initial investments used across multiple projects
Labor and Equipment Expenses
Professional installation involves additional costs:
- Lift equipment rental: Boom lifts or scissor lifts typically cost $200-500 per day depending on height requirements and local rates
- Professional installation: Hiring experienced installers costs approximately $500-1,500 for typical gymnasium projects depending on banner quantity and complexity
- Engineering consultation: Complex installations may require structural engineer evaluation adding $500-2,000 for professional assessments
- Insurance and permits: Commercial installations may require additional insurance coverage or building permits depending on local requirements
Long-Term Cost Considerations
Ongoing expenses affect total cost of ownership:
Maintenance and Replacement
Over years, banners require upkeep:
- Cleaning costs: Professional banner cleaning runs approximately $50-100 per banner when deep cleaning becomes necessary
- Hardware maintenance: Replacing worn cables, corroded hardware, or damaged mounting components costs $25-75 per banner over 10-year periods
- Banner replacement: Fabric banners typically last 10-20 years before fading or deterioration necessitates replacement at $100-300 per banner
- Adjustment labor: Periodic releveling, spacing adjustments, or additions require ongoing labor investment
Space Capacity Limits
Traditional banners face physical constraints:
- Ceiling capacity: Once ceiling space fills, programs face difficult decisions about removing older banners or limiting new recognition
- Structural limits: Buildings have maximum load capacities that limit total banner quantities regardless of space availability
- Visual clutter: Excessive banners diminish facility aesthetics potentially requiring selective removal despite continued achievements
Programs experiencing space limitations discover digital recognition displays provide unlimited capacity without ongoing installation costs, structural concerns, or space constraints limiting recognition.
Planning for Future Growth
Successful banner programs anticipate continued achievement:
Scalable Installation Approaches
Plan systems accommodating program growth:
Modular Installation Designs
Flexible systems adapt to changing needs:
- Consistent spacing: Establish regular mounting point spacing allowing future banner additions maintaining visual consistency
- Reserved positions: Plan for empty positions between existing banners accommodating future achievements without crowded appearances
- Expansion zones: Designate gymnasium areas reserved for future championship recognition as programs achieve additional success
- Standardized hardware: Use consistent mounting systems throughout facility simplifying future installations and maintenance
Prioritization Strategies
Define which achievements receive banner recognition:
- Major championships only: Limit physical banners to conference championships and above, using digital or wall displays for other recognition
- Sport-specific thresholds: Establish different recognition thresholds for different programs based on competitive difficulty and achievement frequency
- Milestone recognition: Consider limiting banners to significant program milestones—10 years, 25 years—rather than annual displays
- Rolling recognition: Establish policies for retiring older banners after specific periods maintaining reasonable total banner quantities
Complementary Recognition Systems
Integrate multiple recognition approaches:
Comprehensive Recognition Programs
Effective programs combine various methods:
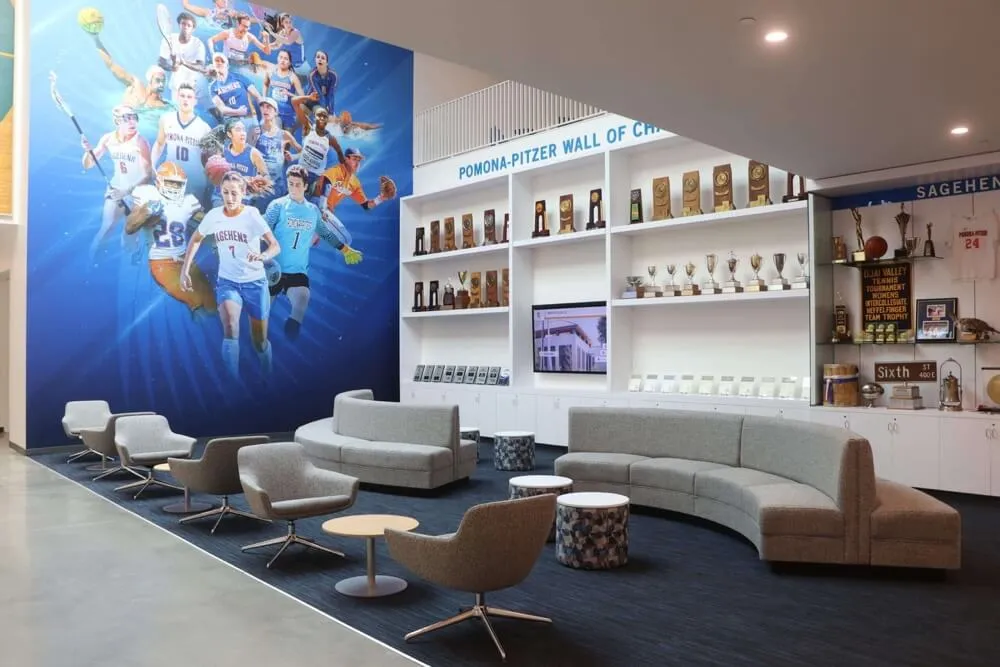
- Championship banners for major team achievements and milestones
- Digital displays providing detailed recognition, statistics, and stories
- Trophy cases showcasing physical awards and memorabilia
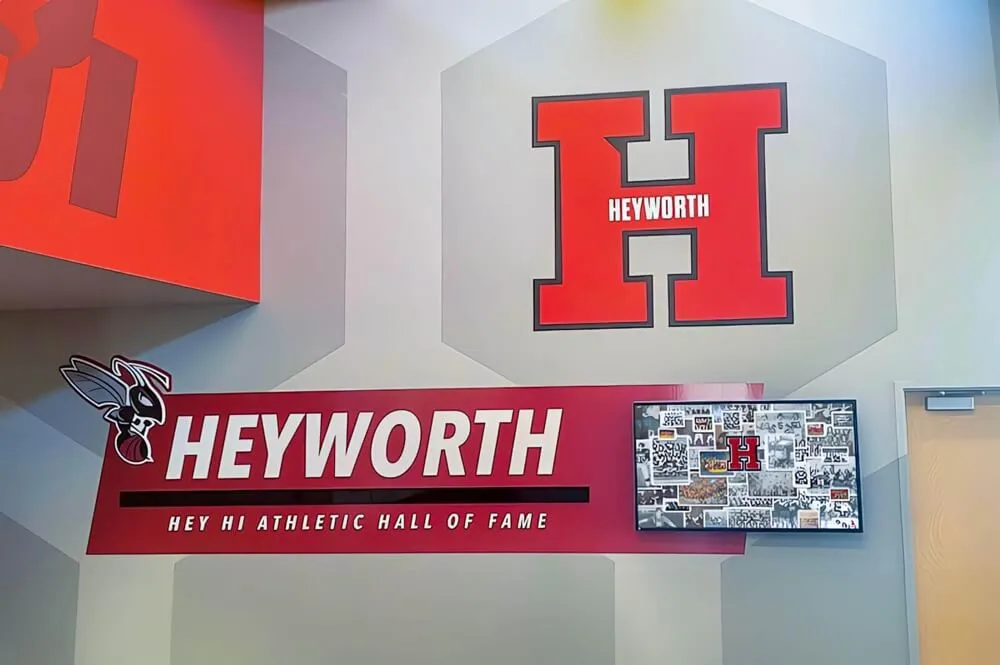
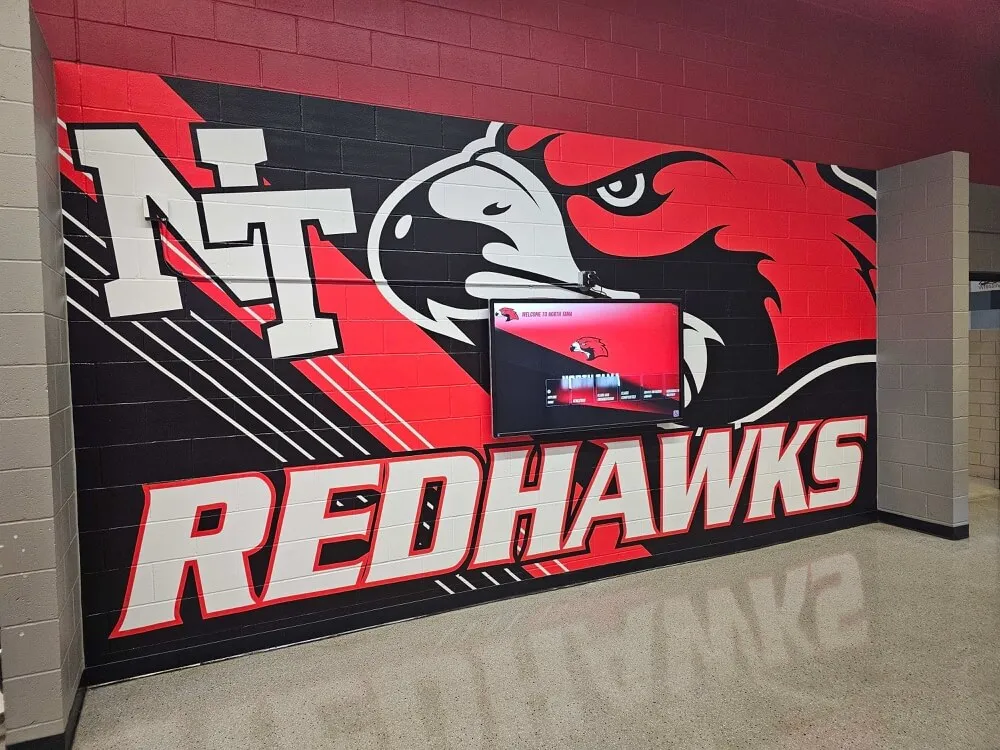
- Wall graphics creating branded athletic identity and visual impact
- Recognition programs honoring individual excellence, leadership, and character
Schools developing comprehensive approaches often evaluate solutions for planning memorable reunions where alumni reconnect with displayed achievements while creating frameworks for ongoing engagement beyond athletic accomplishments.
Conclusion: Celebrating Achievement Through Professional Installation
Championship banners transform gymnasiums into galleries celebrating athletic excellence, inspiring current athletes while honoring legacy achievements. Professional installation ensures these recognition displays present achievements with the dignity they deserve while maintaining safety, protecting facilities, and creating visually cohesive presentations that enhance rather than clutter athletic spaces.
The comprehensive installation approaches outlined here—from structural assessment and hardware selection through systematic installation procedures and long-term maintenance—provide athletic directors and facilities managers with frameworks for executing banner installations that produce professional results. Whether installing first championship banners in new programs or adding to decades of accumulated recognition, systematic approaches ensure consistent quality and safe execution.
Successful banner programs balance tradition with practical realities, recognizing when physical banner displays optimally showcase achievements and when complementary recognition methods better serve program needs. The most effective athletic recognition programs thoughtfully combine traditional championship banners, modern digital displays, and comprehensive recognition systems creating facilities that celebrate comprehensive achievement while remaining manageable within space and budget constraints.
Ready to complement your championship banners with flexible digital recognition that grows with your program? Rocket Alumni Solutions provides digital record boards and touchscreen displays that showcase unlimited championships, individual records, and team achievements without ceiling space constraints, installation costs, or structural concerns. Our systems integrate seamlessly with traditional banner displays, offering athletic programs the best of both worlds—permanent recognition of major championships through fabric banners combined with comprehensive digital recognition accommodating every achievement. Schedule a demonstration to discover how digital solutions can enhance your championship recognition program while reducing ongoing installation and maintenance demands.